fabric designing June 18, 2012 – Posted in: Tutorials
My favorite challenge on Project Runway is usually the episode when the designers get to create their own fabrics. I think most of us who sew dream of being a glamorous fabric designer, surrounded by bolts of gorgeousness we get to use endlessly. I know there are sites like Spoonflower, but that’s just not in my budget (I used to balk at their $16+ per yard prices, but my favorite local quilt store had bolts for $12.50 2 weeks ago. I nearly vomited!)! So when I came across this post on Pinafores and Pinwheels last week I felt like I’d hit the jackpot!
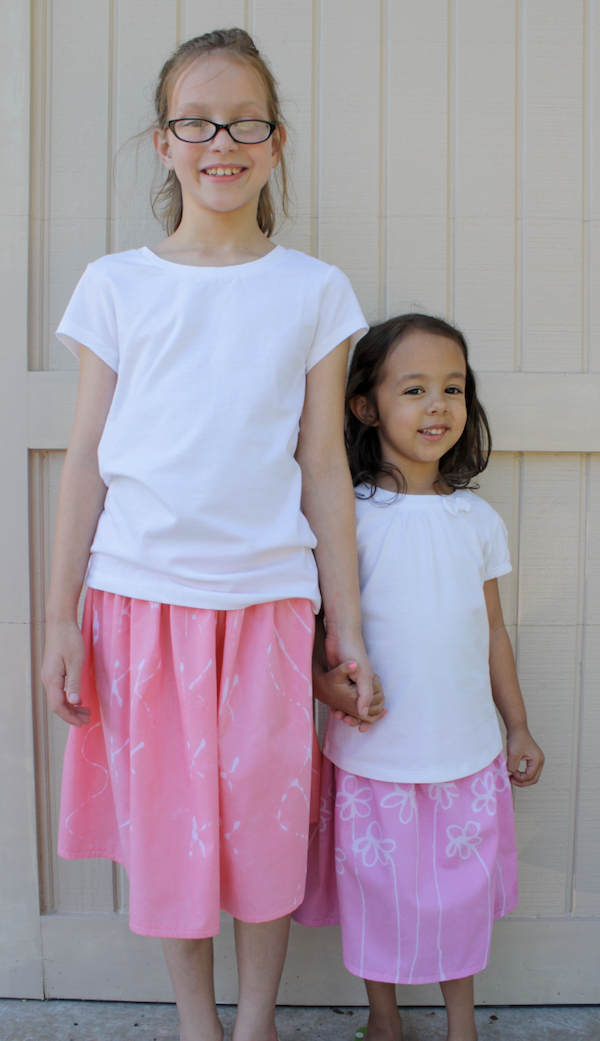
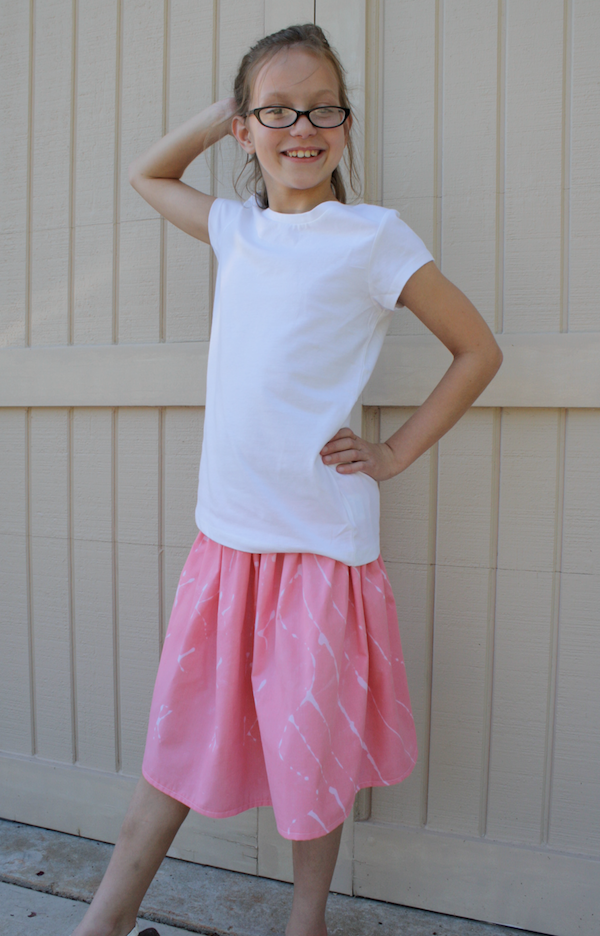
My oldest niece came to stay with us last weekend and she’s extremely interested in fashion design. At nearly 9, she spends hours in her room, doodling in a book and creating garments on her Harumika dress forms. So when I told her I wanted to try this project with her, she was more than thrilled to participate!
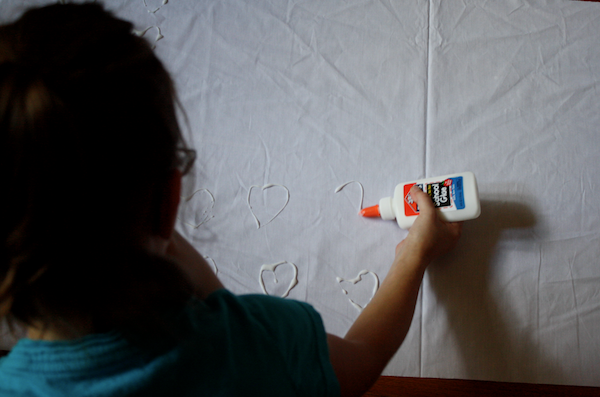
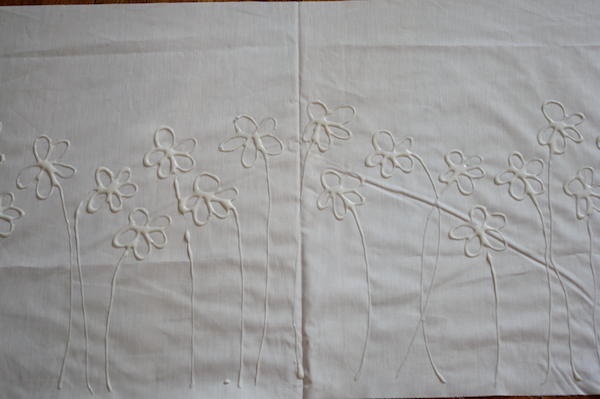
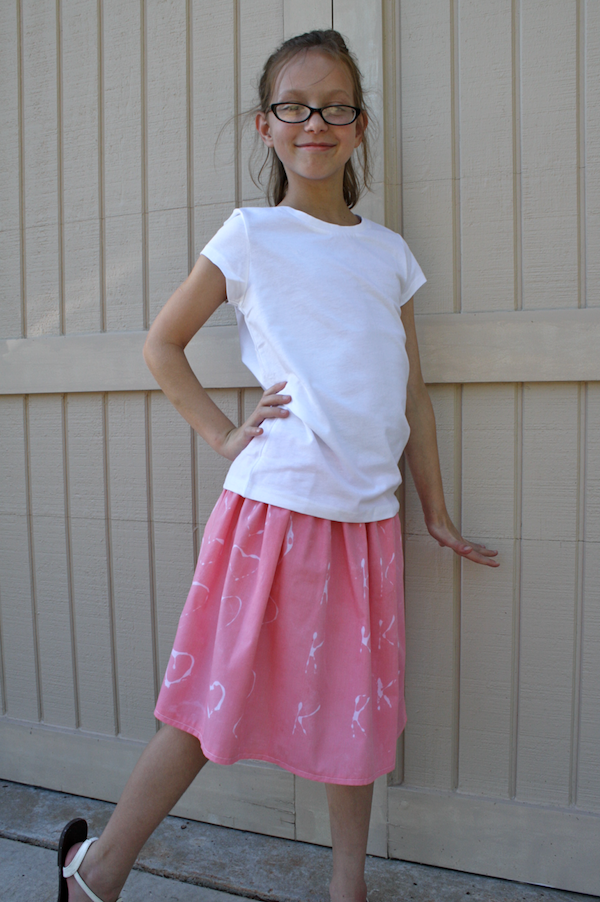
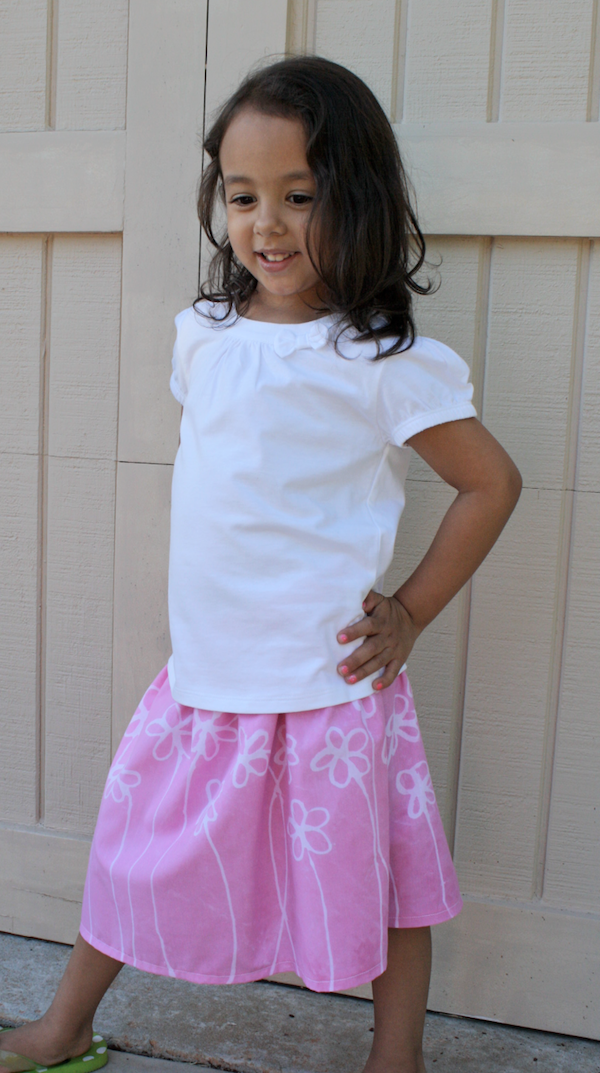
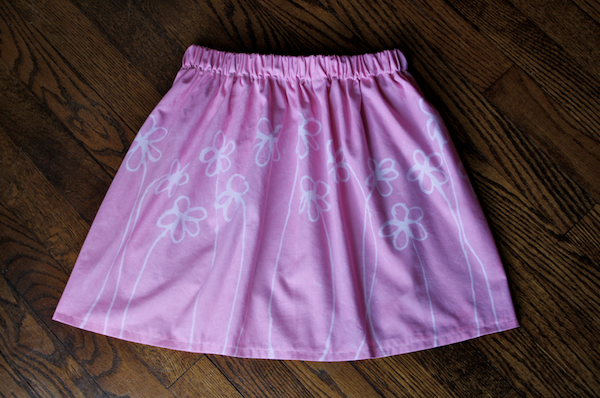
I read the tutorial on P&P several times to make sure I got it all right. We decided to use plain white fabric so we could wear plain white shirts with our creations. Katie and I both opted for skirts and she designed her own while I created one for Sofie. We practiced with the glue on scrap fabric before we dug in and got to work.
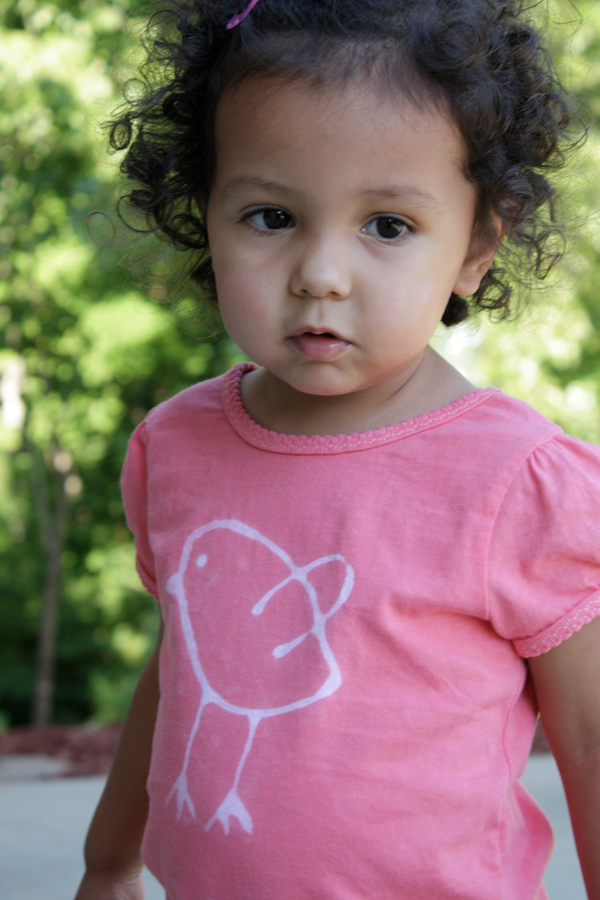
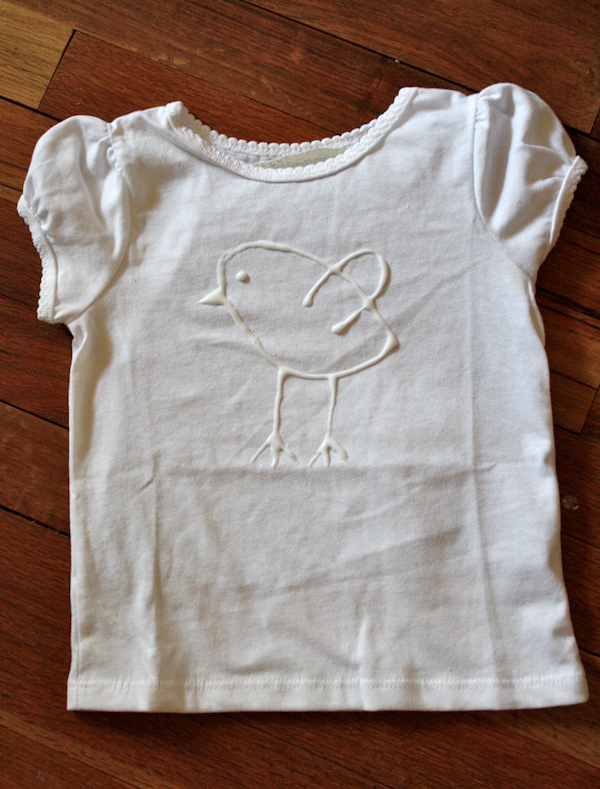
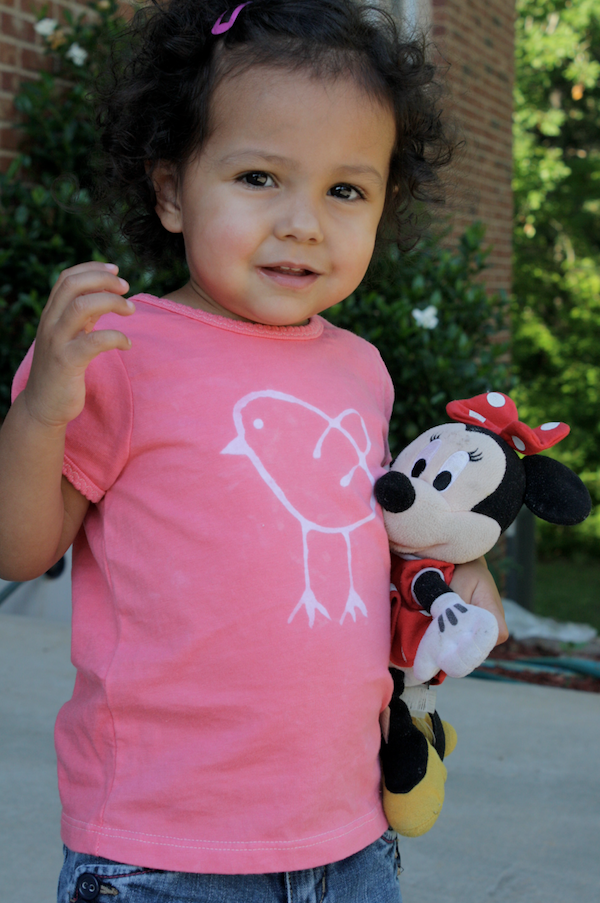
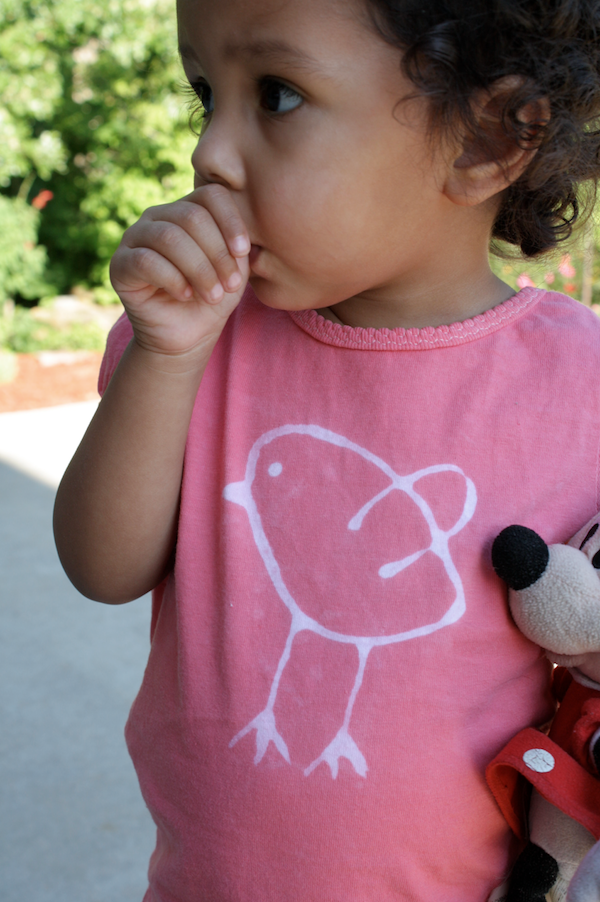
My brilliant sister also had an idea to do a shirt in the same style. So I quickly freehanded this little number for Chloe. Just make sure you put a piece of cardboard between the layers of your shirt!
The glue takes FOREVER to dry. The tutorial said she let it dry overnight and that’s spot on. I figured a few hours and we’d be good to go but it took many, many, MANY hours to dry completely.
Then we moved on to the dye bath. I did Katie’s skirt and Chloe’s shirt in red. I used about a gallon and a half of water and half a bottle of red liquid Rit dye. I should have used two full bottles of dye! My glue started coming off pretty immediately and they each stayed in the dye maybe 5 minutes. So when I moved on to Sofie’s fuchsia I dumped in the whole bottle and it’s still fairly light. They both love the final color, so it doesn’t really matter, but if I’d wanted deep, rich colors, it would take a LOT more dye! I used a knife to scrape off the glue when I rinsed the fabrics, then I tossed them into the washer together. After an hour on air dry in the dryer my fabric was ready to sew! Chloe’s shirt was still wet for a few more hours, but was dry by the time I needed her to model it for me.
Overall, I really loved this project! I think it’s something wonderfully fun to do to incorporate your kids in the process. If you’re not up for a whole outfit, the shirts are faster and easier and just as much fun. I’ve got many more ideas swirling around in my head and I can’t wait for my next chance to grab a bottle of Elmer’s and go to town!


8 Comments
Mel June 18, 2012 - 21:50
Very cute! I’ve seen similar results (on Pinterest, of course) by using a bleach pen on colored clothes.
whiskerchase June 19, 2012 - 20:44
Try using Dylon instead of RIT. You can find it at Walmart craft section or Joann/Hobby Lobby and it is light years better than RIT. You will get nice deep colors and they won’t bleed on everything else in the wash. You could try using spray bottles with dye for a more verigated look. Last year I made pirate maps with the kids on old fabric scraps from a sheet and they turned out amazing and totally washable. I drew a the map details with sharpies and ironed it to set the ink. I am not an artist but I taped my printed design and fabric over top to my window and used it like a light box for tracing. I then mixed some craft paint (the little bottles of acrylic paint at Walmart) with water and painted all over. The effect was like watercolors and once dry is permanent and leaves no odd texture either.
Jani June 20, 2012 - 04:59
cool thing and also really nice to do with children i guess. only problem: i don’t know what glue to use. since i dont live in the us but in germany we dont have “elmers school glue”. the stuff we call “school glue” is very different (its transparent and i think not nearly as thick as yours). can you recommend any other brand or type of glue to use for this project?
thanks, jani
p.s. i came along your blog about two weeks ago and i loooove it!
Stephanie September 20, 2012 - 16:12
I forgot to add salt to the dye. Will that affect the coloring?
Melissa September 20, 2012 - 20:45 – In reply to: Stephanie
It shouldn’t.
Stephanie January 03, 2013 - 22:50
So glad you tried it and it worked! They are all adorable! ~Stephanie from Pinafores & Pinwheels
Claire December 05, 2013 - 10:49
@Jani You could also use bleach and cotton swabs. Just dip the swabs in bleach and draw on colored fabric. Actually, that would be perfect on the shirt skirt!
Jean the bean June 02, 2016 - 07:12
I paint T shirts & found your pin – it’s adorable
especially your models & picture
Have u used the company Dharma? U will love it