
Create Your Own Bias Tape July 22, 2016 – Posted in: Sewing
Creating your own bias tape takes just a few minutes and adds the perfect touch to your sewing project!
Start by cutting strips of fabric on the bias. They HAVE to be cut at a 45 degree angle to allow the fabric to curve and bend smoothly. I prefer to cut 2″ strips to make 1/2″ double fold bias tape. If you just need a small amount you can get it out of one cut of fabric if it’s long enough.
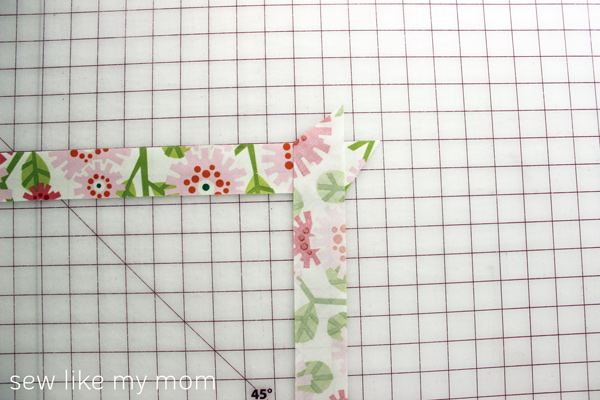
To make a longer piece, take 2 of your strips and place them perpendicularly to each other at one end with right sides facing.
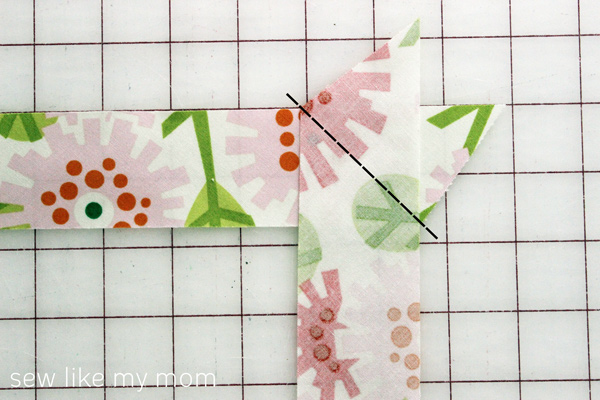
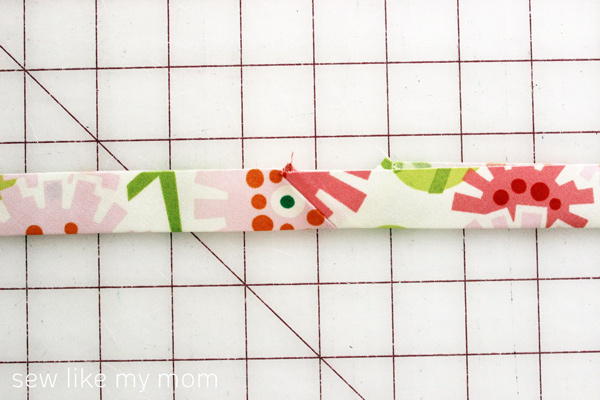
Sew from the edge of where they meet on one side to the edge on the other.
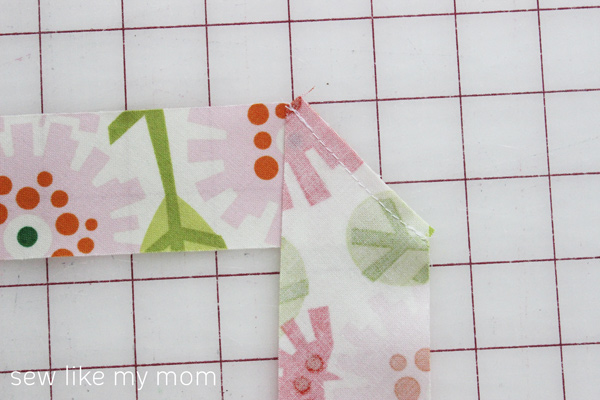
Trim off the extra fabric leaving a small seam allowance.
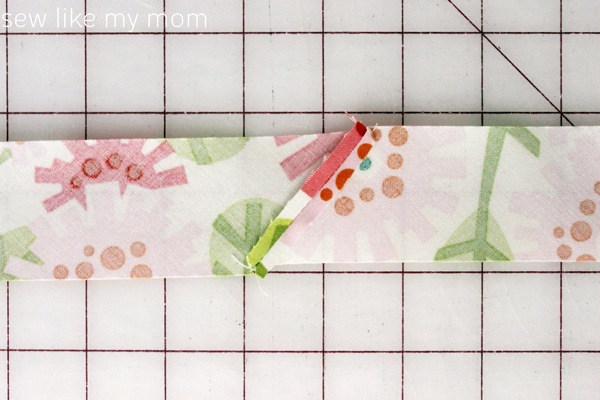
Continue sewing all your strips together until they’re one long piece.
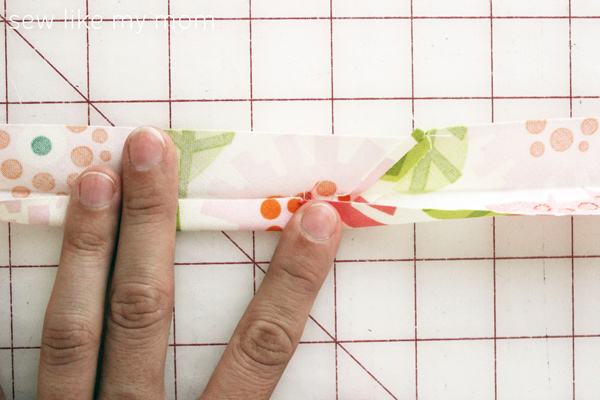
Press your seams open.
Fold the piece in half, matching raw edges at the top, and press well.
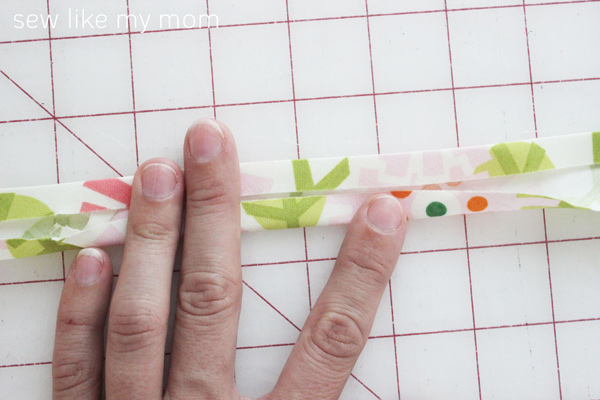
Open the piece up and take the bottom raw edge, fold it to meet the pressed line in the middle, and press the bottom edge.
Flip the piece over, and repeat for the other side.
Fold the piece in half and repress along the first middle press line to set all pressed edges.
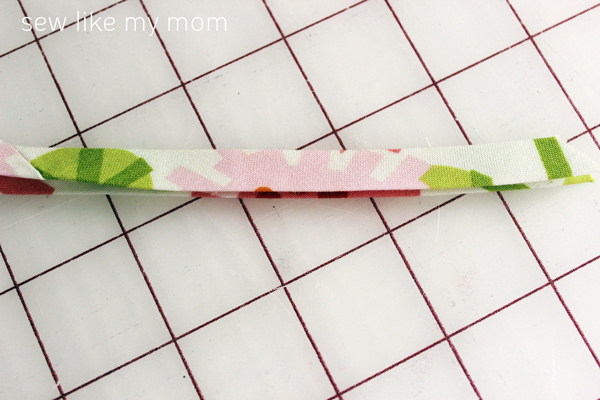
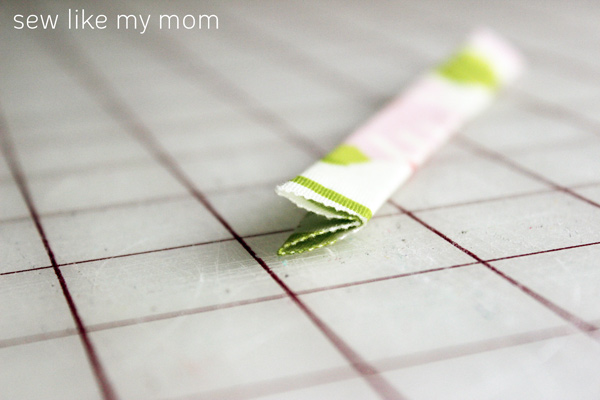
You’ll now have your bias tape! The raw edges will be enclosed in the middle and you’re ready to go!
1 Comment
Happy Nurses Week! – Loving Mommyhood May 11, 2017 - 14:37
[…] Stemless Wine Glasses. Every nurse I know could drink most people under the table. Nurse parties are fun. […]