Shirred Paperbag-style Skirt Tutorial February 25, 2013 – Posted in: Tutorials
Well, I said I’d been sewing and I promised to start sharing more, so here we go!
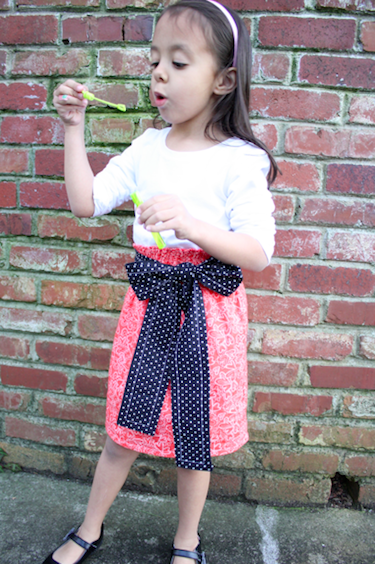
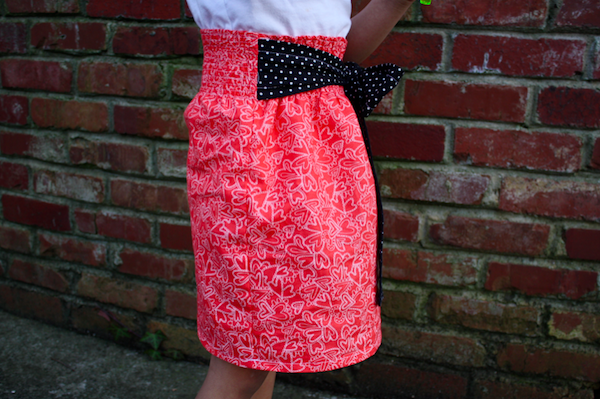
For Valentine’s Day I wanted to make Sofie something new. I’ve made various pillowcase dresses over the years that have been passed down to Chloe and Ella to wear for the day. Sofie’s really gotten into holidays and celebrations lately and she was having a party at preschool on Valentine’s Day so I thought she deserved to look extra special on this day of love!
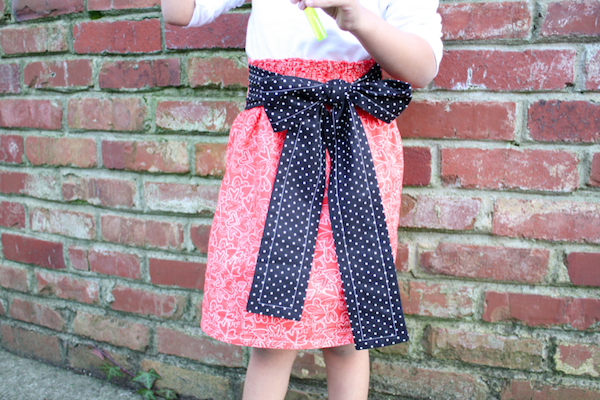
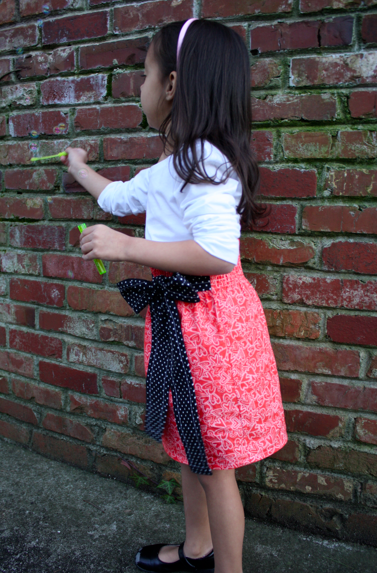
This skirt was extremely easy to make and took me all of maybe an hour to get it together (an hour pieced together between diaper changes, nursing the baby, snacks, and book reading requests, that is!). I borrowed the main look and sizing from my Toddler Tie Skirt tutorial because I knew I wanted an over-sized bow that tied to one side.
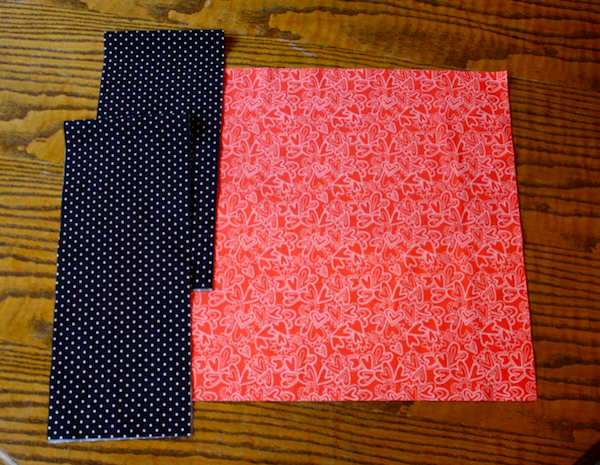
To start I cut 2 pieces of fabric, a front and a back, 15″ by 15″.
I decided I wanted it 15″ wide because that was 1.5 times the width of her waist on each side.
Waist – 20″
divided by 2 (for front and back) – 10″
10 x .5 = 5″
10 + 5 = 15″ per side
**When you shirr cotton it doesn’t shrink up a whole lot, so you don’t want to do a piece that’s bigger than this formula. It was still roomy on her and I might do it a little smaller next time I make the skirt.
Then I decided to cut it 15″ long to make sure I had enough room for a nice hem.
The straps I cut 27″ long and 30″ long (two different lengths like I did in the Toddler Tie Skirt), and cut both 6″ wide. These numbers can be adjusted to whatever you want them to be. Sofie’s currently wearing a 4 or 5, depending on the fit of the garment.
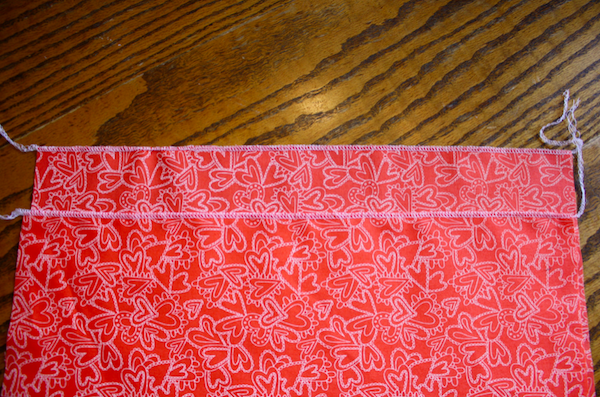
First, finish the top of each skirt piece. If you don’t have a serger, do a zigzag over the edge. This skirt has a very narrow hem and doesn’t allow for much extra room to turn under twice to hem.
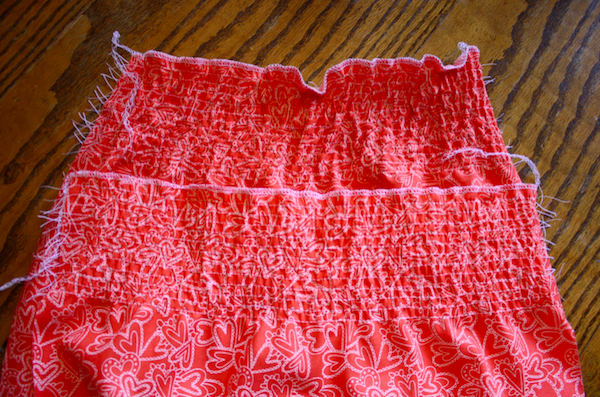
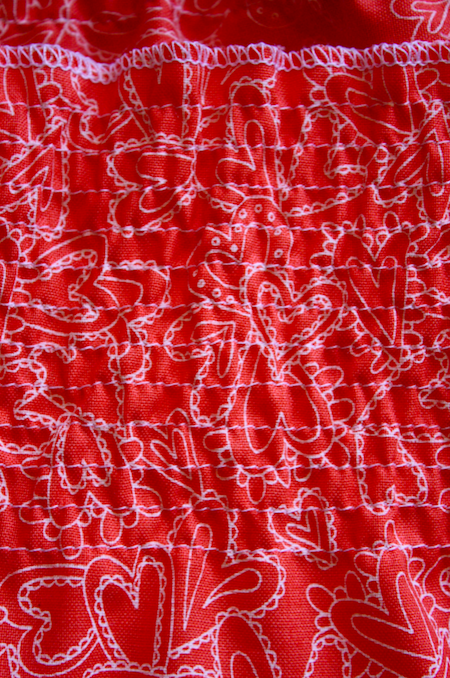
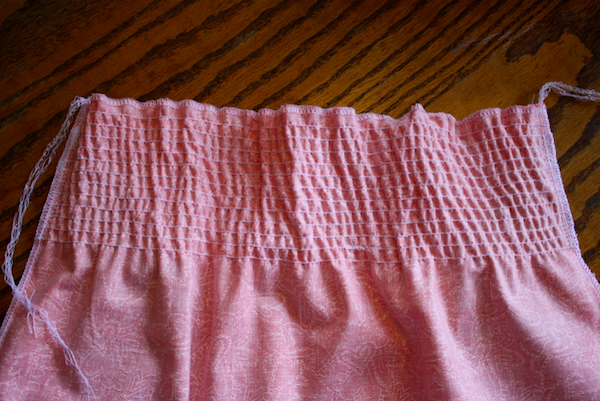
Then shirr each side. For information on how to shirr, I like this tutorial from Sandi Henderson.
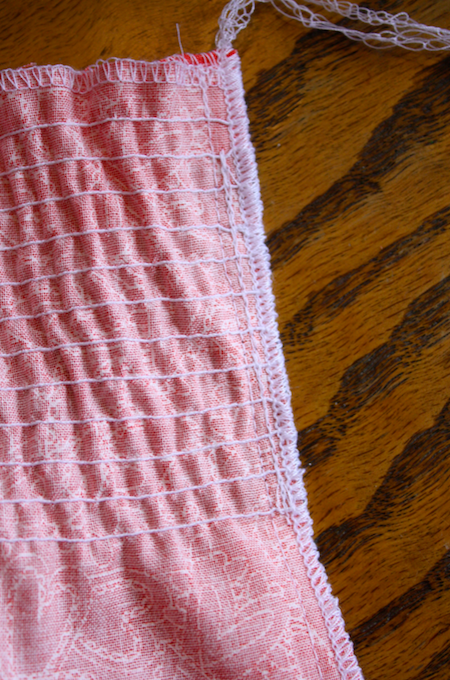
I shirred 12 rows on each skirt piece 1/4″ apart, or 3″ of shirring.
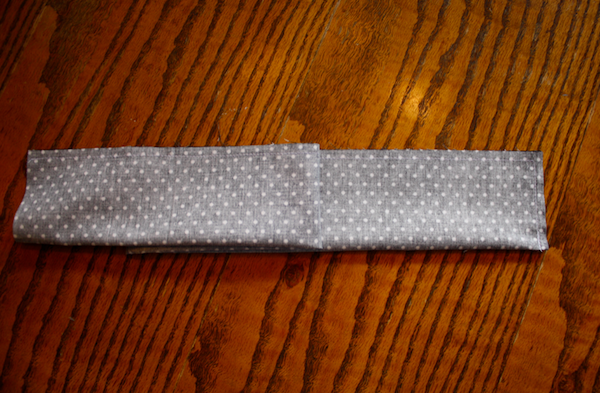
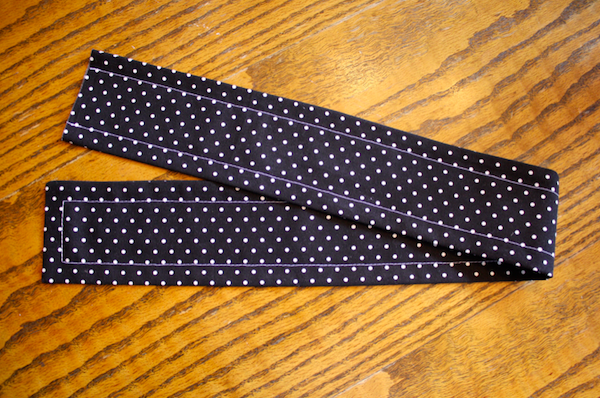
Then I took each tie piece and folded right sides together and sewed down the long edge and across one end.
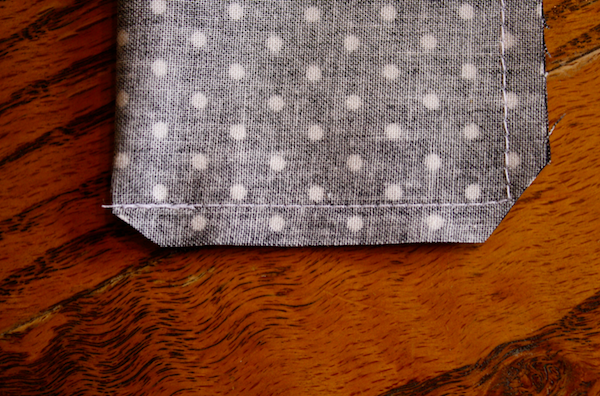
Cut the corners of the stitched end at an angle so they make nice, sharp corners when you turn it.
Then I turned, pressed, and topstitched each tie, leaving the open end raw.
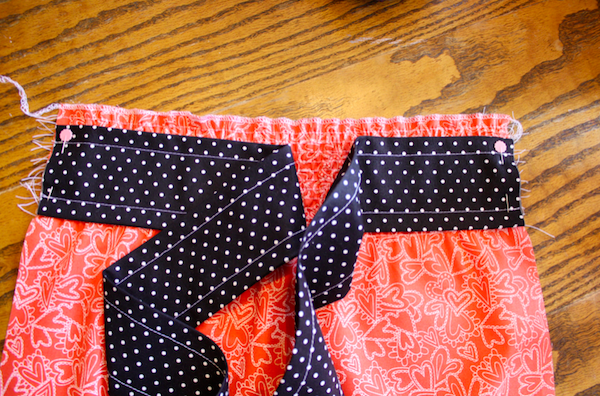
I then chose a skirt piece to be the front and pinned the ties to the sides, lining the bottom of the tie up with the bottom row of shirring.
And stitched them down at 1/4″ seam allowance.
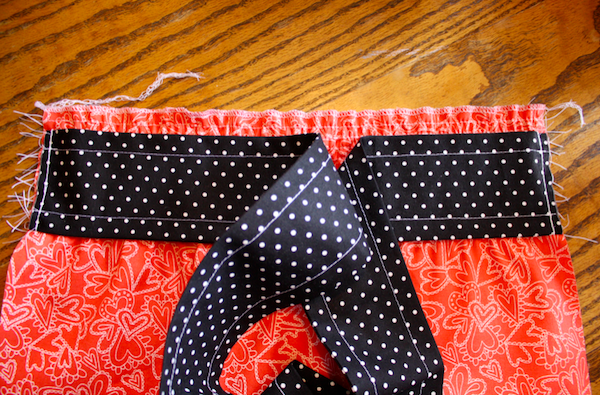
Then with right sides together, put the skirt back piece on, pinning the shirred parts well, and sew down the side seams at 1/2″ seam allowance.
Then serge or zigzag the edges. When I shirr, I prefer to serge the seams twice to make sure I catch all the elastic ends.
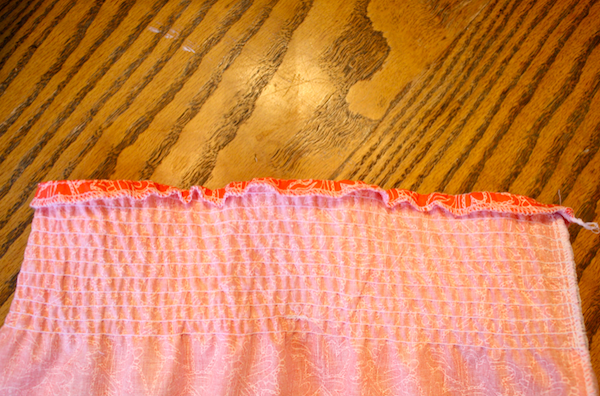
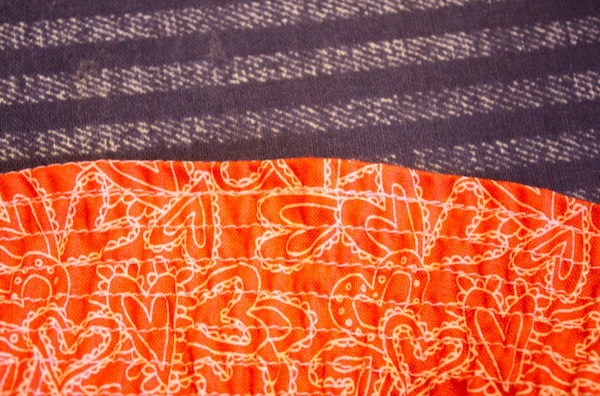
To hem the top, I folded down along the top row of shirring and ironed, then stitched at 1/4″ seam allowance and the seam matched up with the second row of shirring, which has now become the top row.
Fold up your bottom and hem and it’s finished!
How did she get so old?!



2 Comments
Gillian Walker March 02, 2013 - 03:50
Love this pattern. You always make them seem so easy. Definitely going to give this one a go. Thanks for inspiring.
Paper Bag Skirt Tutorial | Go To Sew June 27, 2014 - 09:00
[…] This simple paper bag skirt is easy to sew and adorable! You’ll find the tutorial over at Sew Like My Mom. […]