Sofie top tutorial March 7, 2012 – Posted in: Tutorials
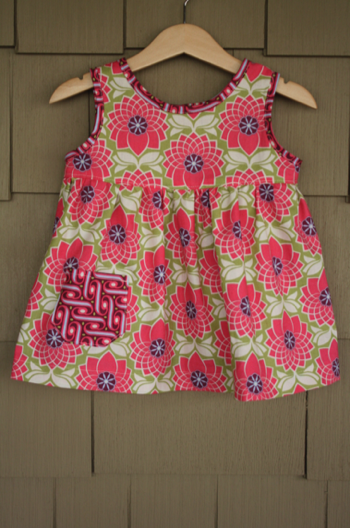
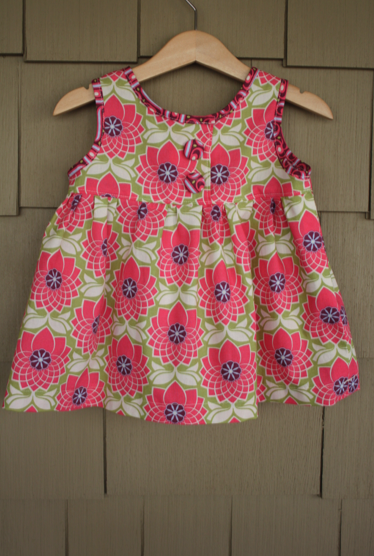
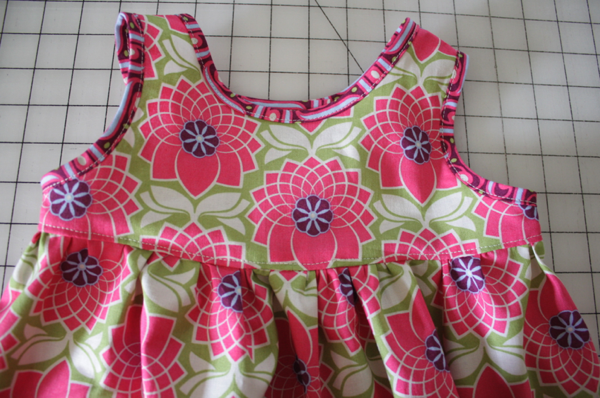
I can make skirts. And I love to make dresses. But I’ve been frustrated with the fact that I can’t make shirts. There’s a real lack of cotton shirt patterns and tutorials for kids out there so I had to get over my fear and bite the bullet. I pulled out one of Sofie’s dresses, made up a pattern, and came away with this beauty.
I couldn’t believe how easily it all actually came together! There was no fidgeting, no re-measuring, no nothing.
In fact, it’s probably nothing short of a miracle that this little shirt ever got made to begin with. I made the pattern weeks ago. I cut it out several days later but set it aside. Then the pattern pieces and cut fabric actually made it into my stuff to bring to Mom and Dad’s while we’re waiting to move into our house.
I’d originally intended for her to wear a long sleeve shirt under this for now, then wear it as a sleeveless top this summer. But our amazing, unseasonably warm weather is permitting her to wear it this way now!
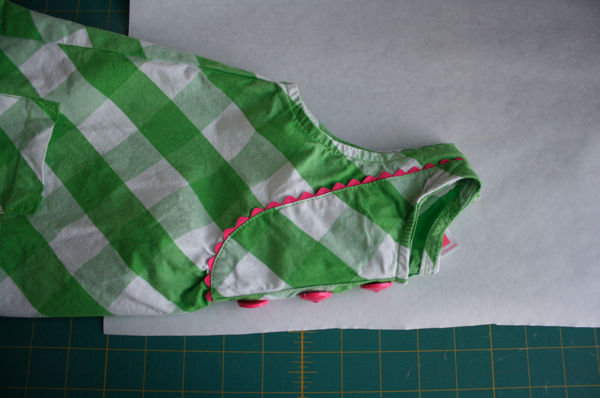
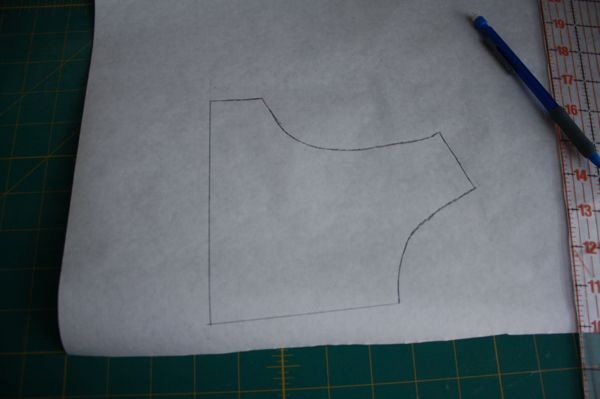
To start I needed pattern pieces. I took an old Carter’s dress that fit her well and traced just the top portion to make my bodice pattern pieces.
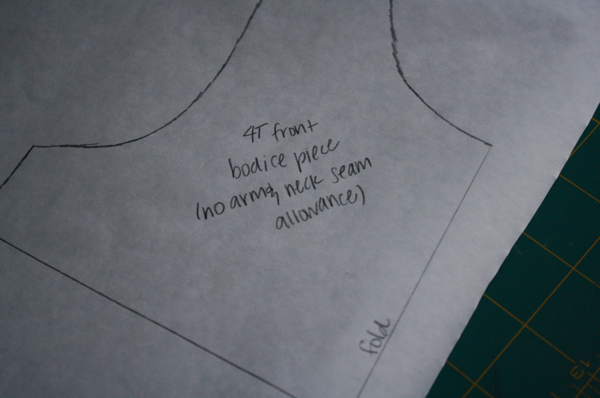
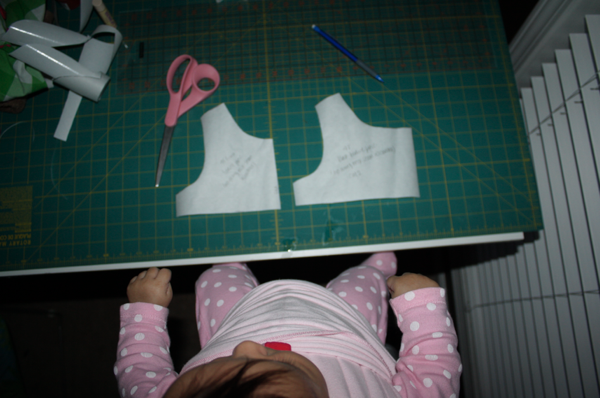
First I made the front bodice piece. This needs to be cut on a fold so I folded the dress in half and traced exactly around it.
It was always my intention for this shirt to have bias around the neck and armholes so I didn’t include any seam allowance. To make sure I always remember that, I noted it on the pieces.
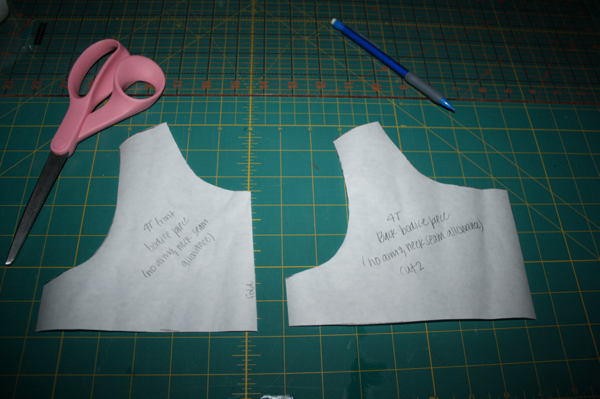
Then to make the back bodice piece, I retraced my front piece and added extra to the middle so I could overlap them to make the placket for the buttons.
So they’re essentially the same, just one’s a little bigger than the other. I didn’t use any special math to know how much bigger to make it, I just did a rough estimate and went with it.
(and please ignore the drool on my cutting mat. I made the pattern, and most things these days, while wearing a sweet, very Mommy-crazed, little Ella)
The main part of the shirt took 1/2 yard of fabric to make. I had a coordinating 1/2 yard that I used to make the bias strips and pocket from, as well as the covered buttons.
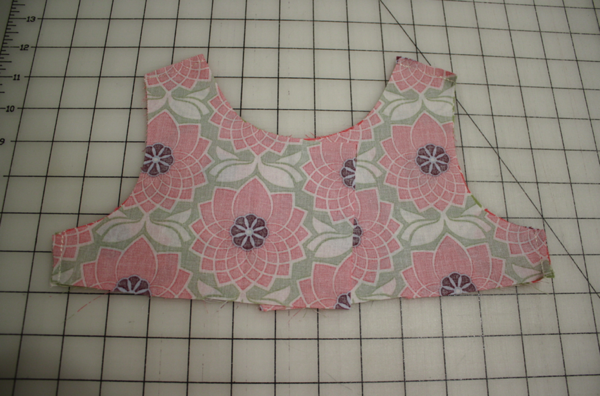
So to begin I cut 3 bodice pieces, one cut on the fold for the front, and 2 for the back.
I stitched them together at the shoulder and side seams. I serged my seams to keep them neat, but it’s not necessary.
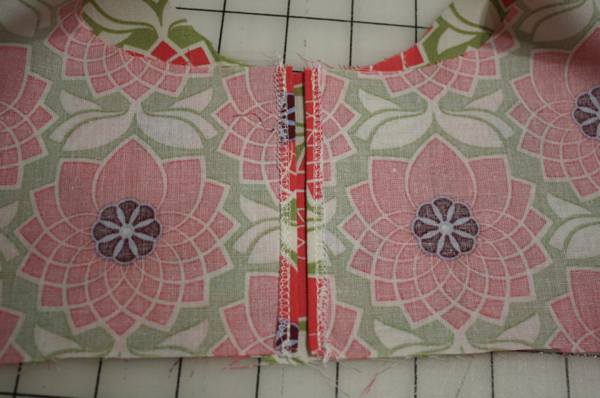
Then I serged the edges in the back. If you don’t have a serger, turn them under twice. I folded them in just a little bit (and realized later I could have done a lot more!), then sewed in place.
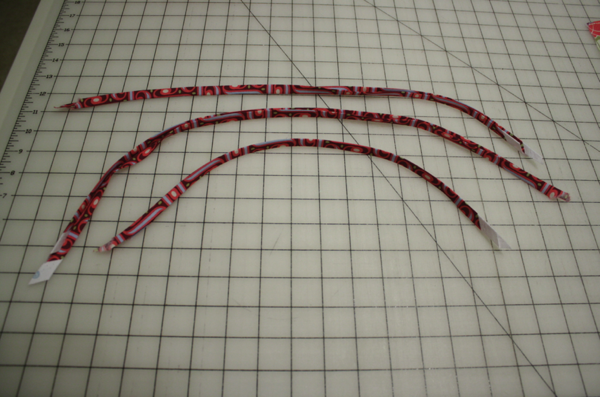
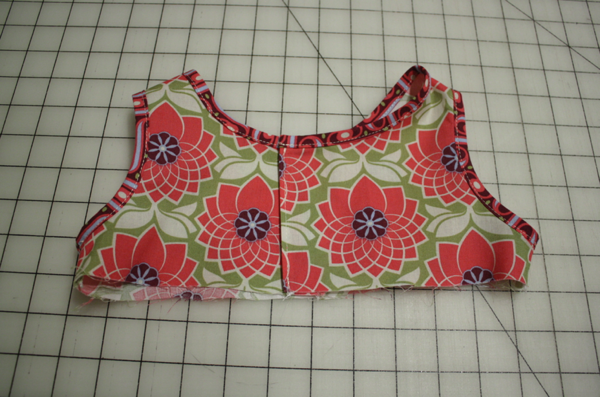
Then I cut strips on the bias of my contrast fabric and made it into bias tape.
I applied the bias tape to the neck and arms, then marked where I wanted my back pieces to overlap.
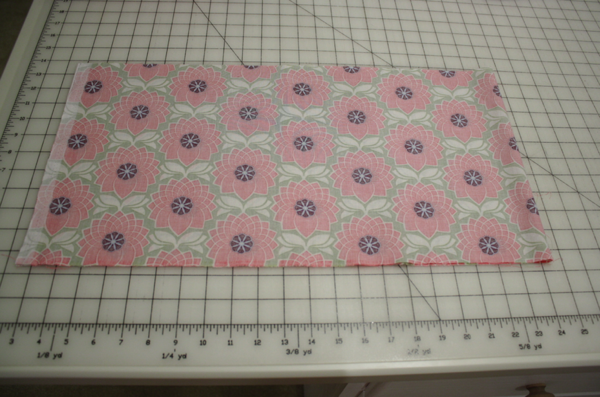
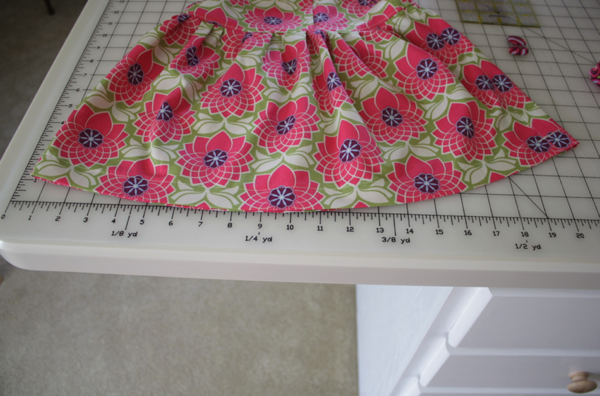
For the bottom of the shirt, I cut my fabric 12″ by the width of the fabric (45″).
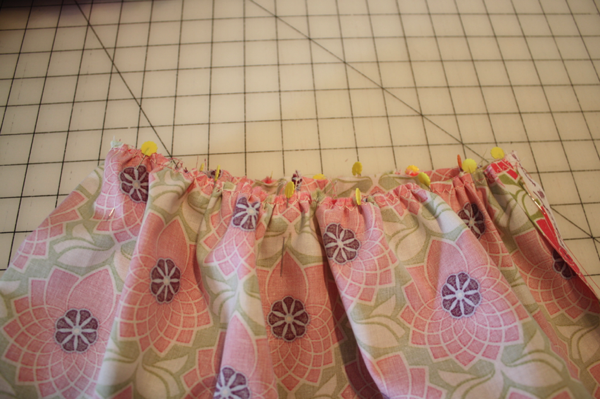
With right sides together, I sewed down the side and pressed my seam open. I then gathered around the top.
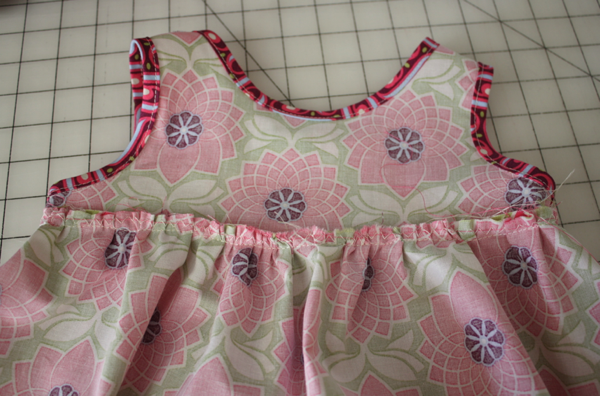
Pin the right side of the bodice to the right side of the skirt and attach the two pieces.
Press the seam up and topstitch.
Then hem the bottom to the desired length (for me, it was 1″).
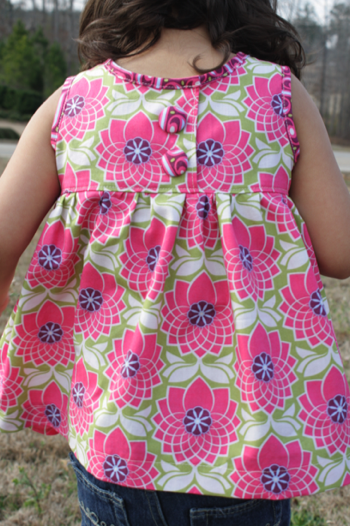
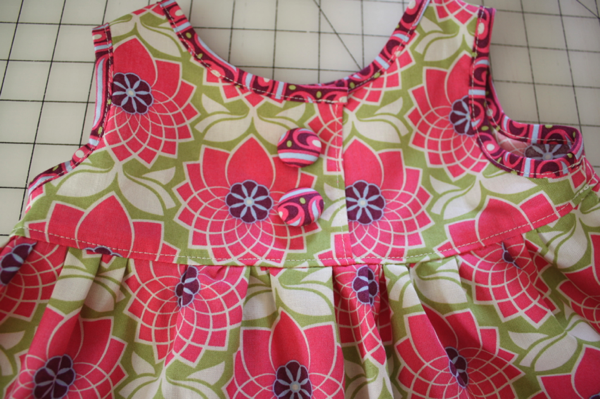
I covered 2 buttons to use on the back. I centered them and after making my buttonholes, realized I should’ve put the top one at the top! So there’s a clear snap holding the top of the placket together.
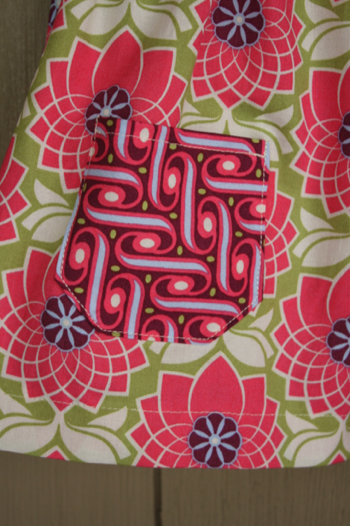
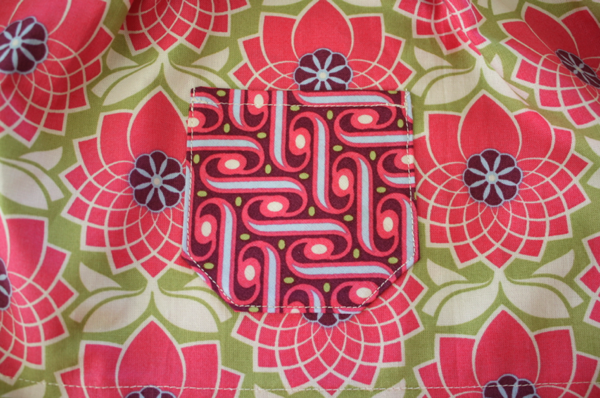
Then using the fabric left from what I cut off to make my bias strips, I made a little pocket and attached it to the front.
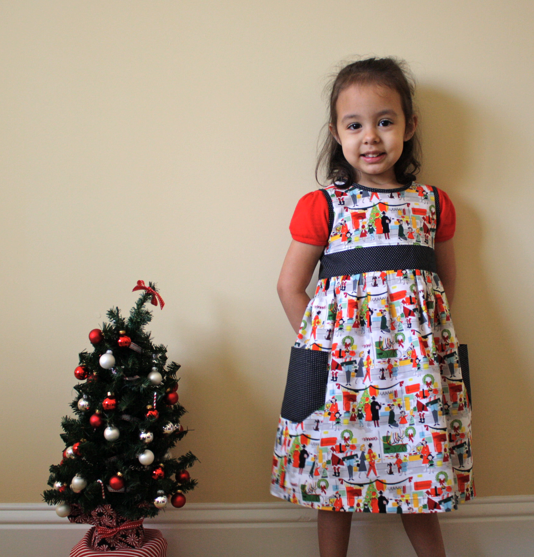
When I was making this pattern into Sofie’s Christmas dress, I simply added the contrast band to the middle of the dress, lengthened the skirt, and made the pockets larger and on the sides.
And I figured out the buttons on the back for my second attempt!
This was a simple pattern made from a piece of clothing we already owned. With small changes and a little imagination, I was able to make 2 totally different outfits for Sofie. I’ve been raiding her closet for more inspiration!








11 Comments
KathyH March 07, 2012 - 01:25
oooooh, I love this! Saving it! And how great to see the process. Thanks!
Monica March 07, 2012 - 02:47
Hi.
I just have to say I LOVE you blog. I am so impressed and your sewing really ispires me:) Thank you for you good and easy tutorials, even for a Norwegian girl who is not very sturdy in English, you make it very understandable.
Your girls are absolutly adorable.
Keep up your good work, I will follw your blog fram now:)
Best wishes,
Monica
Pippa March 07, 2012 - 08:53
A very sweet idea.Might have to try making something like this for myself. Im lacking in small children to make for :p
Tracy March 07, 2012 - 10:00
ADORABLE, Thank you for inspiring me – I am now bravely stitching clothes for my DD(9).
ELLEN March 07, 2012 - 11:54
Very cute.. I have never attempted to make my own pattern!
this size will fit my daughter! might have to attempt…
michal March 11, 2012 - 00:39
Love it, adorable! the buttons, the pockets.. Great!
Veronica March 11, 2012 - 11:47
This top and dress are adorable! And I love the Joel Dewberry fabric. I’ve got some saved up, so I may have to make one just like it! Thanks for the inspiration.
Dawnlucille March 24, 2012 - 10:49
Thanks for the awesome tutorial. I was wondering though…
I have a serger and have not had any success with it. I was wondering how you serged the edges back on the back of the bodice. I have been looking and looking for tutorials on how to do this and have yet to find any. I always end up serging, folding, pressing, and stitching. Please tell me there’s an easier way.
Thanks!
Spalva May 23, 2012 - 04:22
Hi,
I used your tutorial to create a sleeveless nightgown (on flickr.com/spalva). And I can’t wait to make more tops and dresses! Thank you!
betty moren August 21, 2012 - 12:04
If you line the top, you could avoid the bias trim…I hate doing bias tape, but like your clear instructions especially for beginners…
Surya December 16, 2012 - 03:58
Wonderful and neat work, will try this out for my 1 year princess