Toddler Tie Skirt September 18, 2011 – Posted in: Sewing, Tutorials
I love when I have ideas like this one, that come together so perfectly. I decided what I wanted this skirt to look like, cut the pieces, and it took me just a few hours to get it all done–and I was basically making it up as I went along.
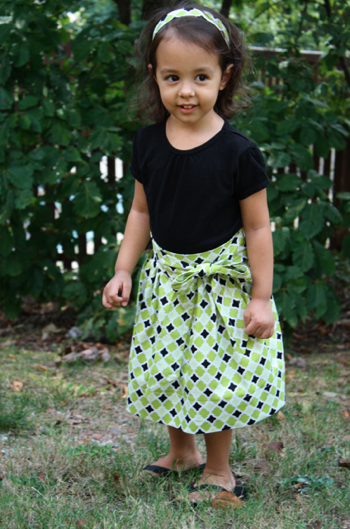
But, I LOVE it. And so does Sofie!
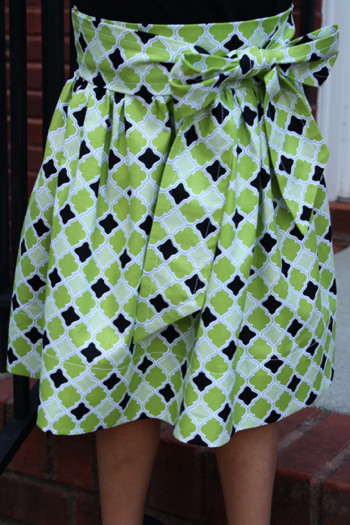
It’s got a side zipper hidden by an adorable over-sized bow.
I swear she likes it, she just also likes to give me sassy attitude!
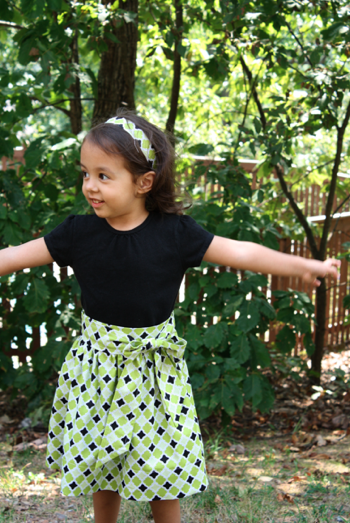 |
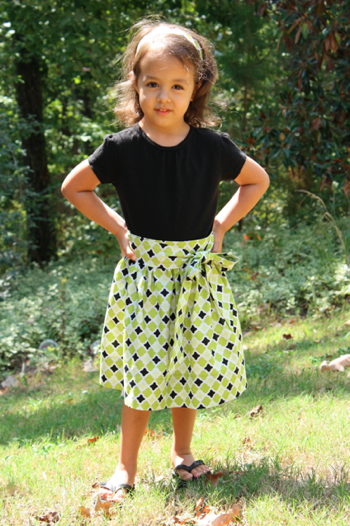 |
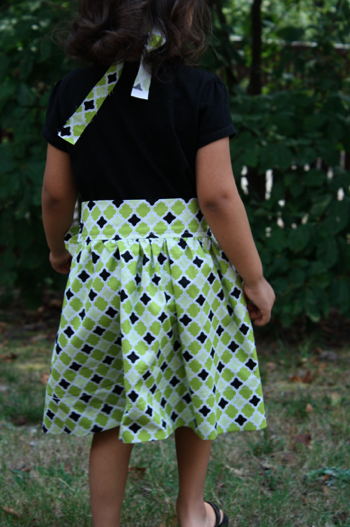
I like the way the high waist looks on her scrawny little frame.
Making the skirt was very easy. I just took a few measurements from Sofie and got to work. All I needed was to know her waist measurement around her belly button, and the length I wanted.
Sofie wears a 3T, but she’s super skinny. Her waist was 20.5″ and I wanted it around 14″ long when finished. I also knew I wanted 1 tie to be longer than the other so they’d be the same length when tied. I determined they should be 23″ and 27″.
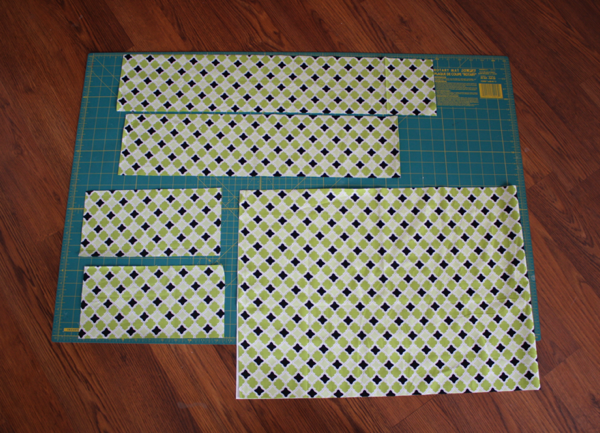
I only had 3/4 of a yard of this fabric and it was just enough to make her skirt. I also used a 7″ zipper.
Main skirt piece: 16″ by fabric width (45″)
Tie 1: 5.5″ by 27″
Tie 2: 5.5″ by 23″
Waistband (cut from the fabric left over from the ties): 5.5″ by 11″ (if you have enough fabric, 5.5″ by your waist measurement)
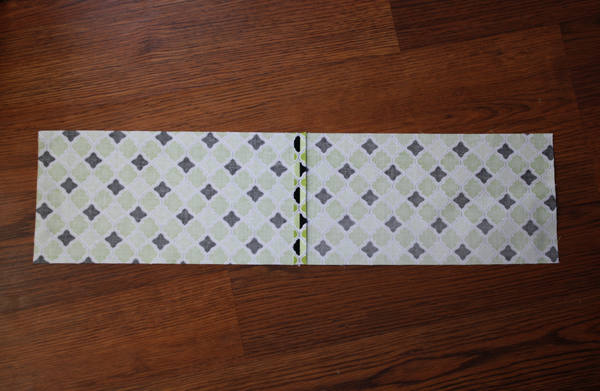
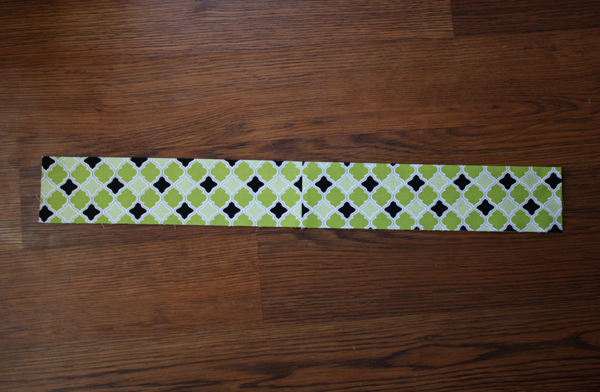
I started by sewing the waistband pieces together in the middle with a 1/4″ seam allowance. Iron the seam open.
Iron the waistband in half lengthwise, then set aside.
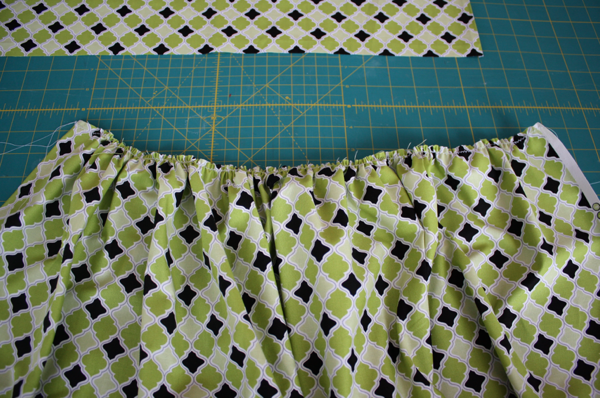
Gather the skirt along 1 long edge.
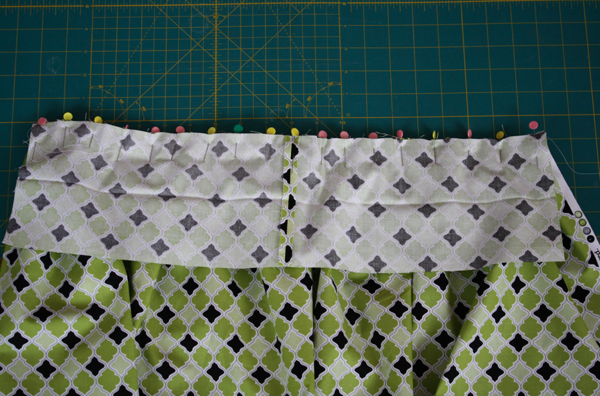
Pin the gathered skirt to one side of the waistband.
Sew at a 1/2″ seam allowance, and press the seam up towards the waistband.
Place right sides of the skirt together and sew closed with a 1/2″ seam allowance, starting at the ironed fold in the waistband, ending at the bottom of the skirt.
Iron the seam open flat, including the top part of the waistband you left unstitched.
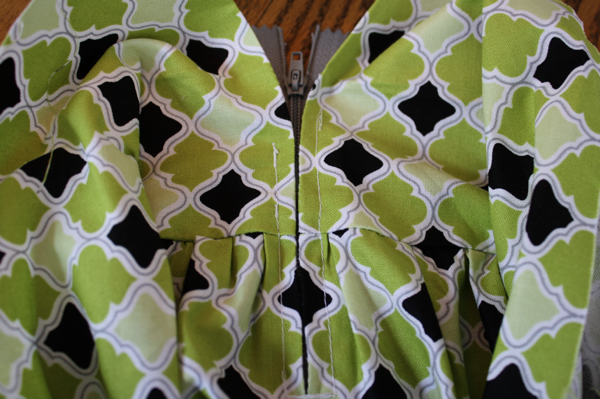
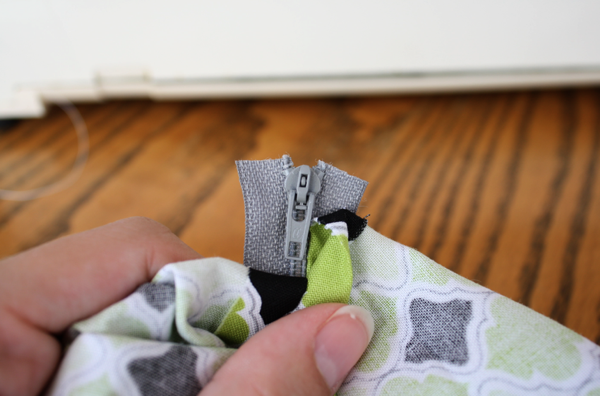
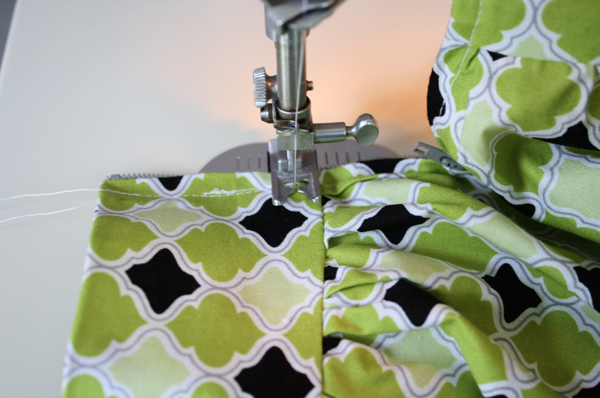
Sew in the zipper, starting at the top of your seam. I didn’t want to use the entire 7″ of the zipper, so I only sewed about 4″ down and cut over. (Also I didn’t want to change to my zipper foot so I just used my regular one and “made it work”. It doesn’t really matter because all of this will be covered by the ties.)
Cut off the top parts of the zipper.
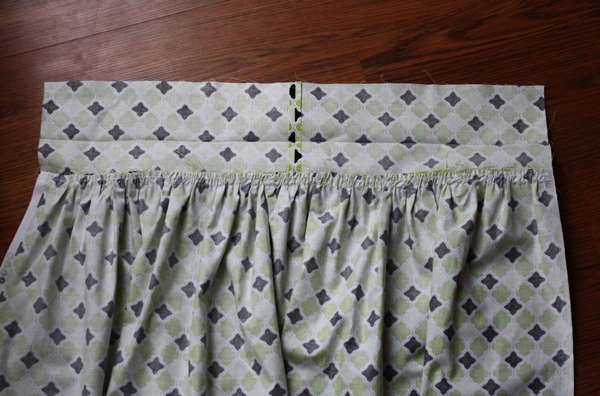
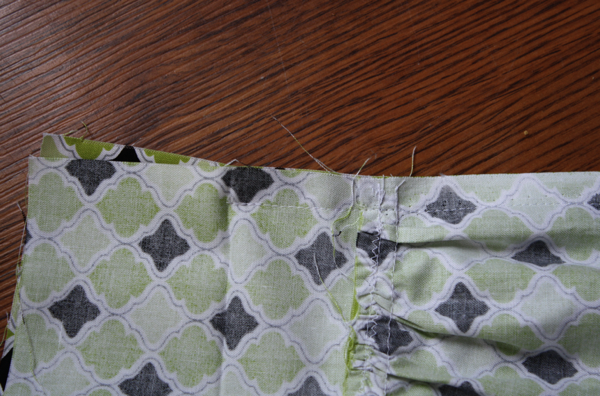
Fold the waistband in half along the crease you ironed in earlier. Tuck the bottom up so it’s even with the gathers and iron. Square off your ends along either side of the zipper and use pins to hold in place.
Flip the skirt over and top stitch, starting at the top of the zipper, all the way around the skirt, and up the other side to the zipper.
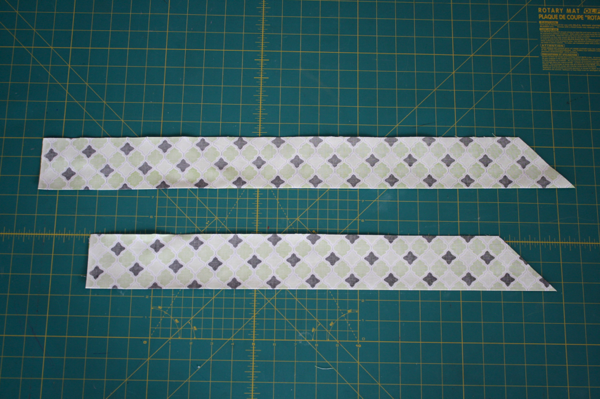
Get the ties and iron them in half. Cut one end off each tie at a 45 degree angle.
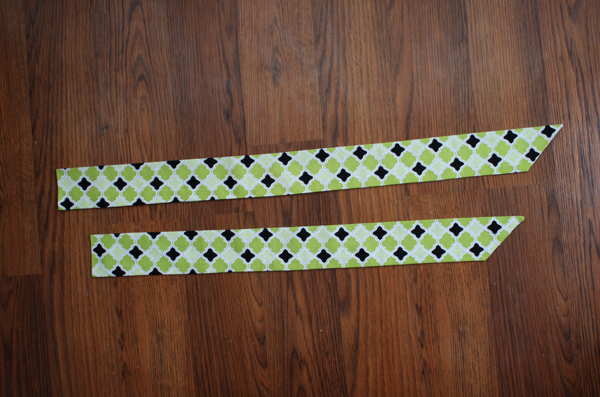
With a 1/2″ seam allowance, sew down the long side and along the angled edge. Clip your corners, turn the ties, and iron flat.
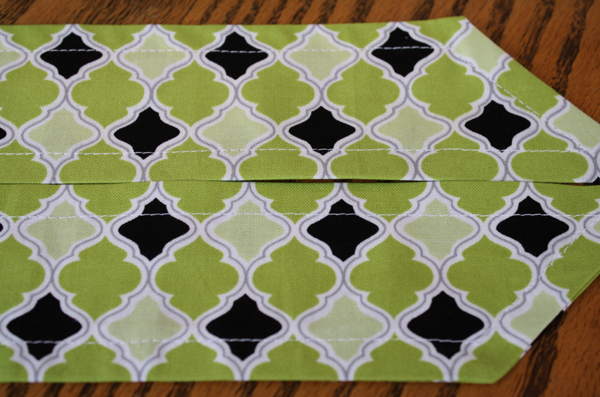
I chose to top stitch the ties for decoration at 3/8″ seam allowance.
Now, I cut my ties with the selvedge intact so I didn’t have raw ends. If you do have them, simply tuck them in. I put the zipper on Sofie’s left side. I also tied it on the left side, so I put the shorter tie on that side.
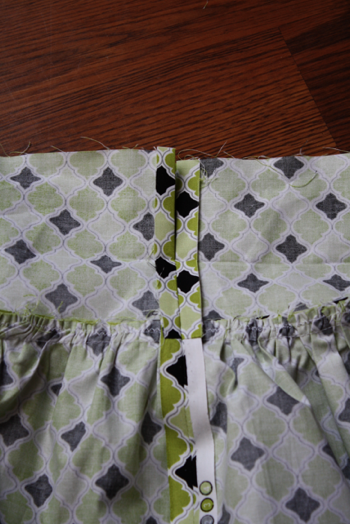
Place the tie on the on the back side of the zipper, pointing toward the back of the skirt, and sew in place. You’ll pull it to the front to tie, covering the seam and the zipper.
Do the same on the other side of the skirt with the longer tie. For me, this was easy because I had the seam in the waistband on that side.
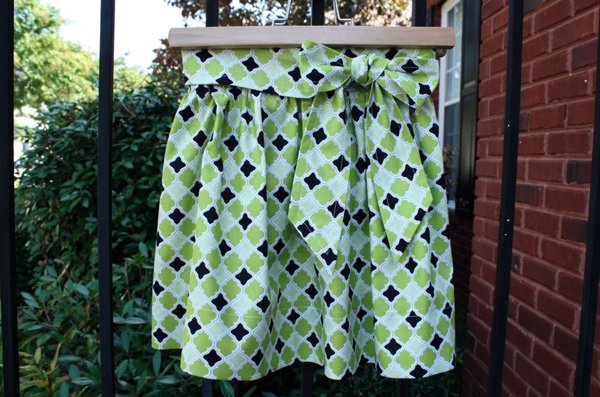
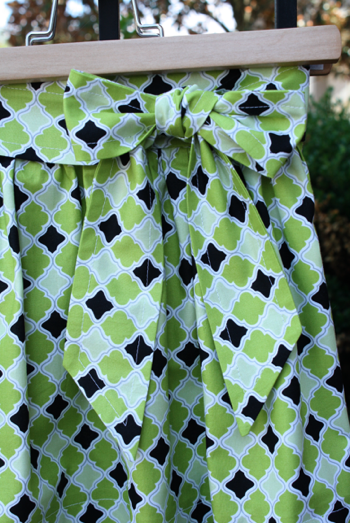
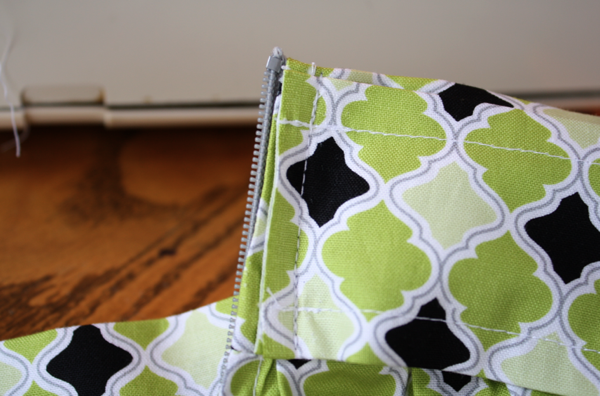
A closer look at the finished side.
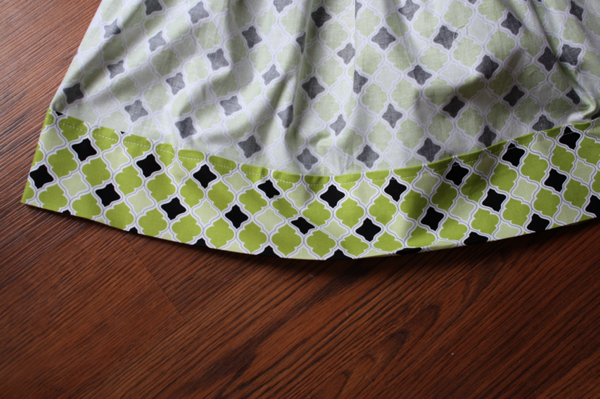
Then hem it! I wanted a deep hem on this skirt, so I folded under 3/4″ and ironed, then folded it up 3″ and ironed again and stitched it in place.
She’s already worn it once and keeps asking to wear it again! I call that a sewing success!






23 Comments
Brittany K. September 18, 2011 - 14:22
Adorable!!! I’d probably put some elastic in the waistband, just because I think kid’s clothes (ok ALL clothes) should be stretchy 🙂 But I love the big bow!
Sarah September 18, 2011 - 16:30
Hi. I love your stuff!! Can you explain how you did the gather? I’ve been wanting to try a skirt like this for awhile now, but I am new to making garments. Any help would be appreciated.
Thanks. 🙂
Melissa September 18, 2011 - 17:21 – In reply to: Sarah
Hi Sarah!
There are 2 ways to gather, it depends on personal preference. They’re described great here: http://sew4home.com/tips-resources/sewing-tips-tricks/360-gathering-made-easy
I personally prefer the zig zag method. People use dental floss or denim thread, but I just grab a bobbin of some other color regular thread and use it. I think it’s not only easier to gather that way, but it’s easier to adjust the gathers to make them even.
Good luck and let me know if I can help with anything else!
Melissa
thendral September 19, 2011 - 01:43
Lovely! Thanks for sharing.
Jenn September 19, 2011 - 10:13
Where do you find your material at. I love all the patters you use.
My little girl just turned 2 and i can’t wait to try this.
Thanks
Melissa September 19, 2011 - 10:16 – In reply to: Jenn
Thanks Jen! I got this particular fabric at Hobby Lobby. I loved it when I saw it and couldn’t leave the store without it!
Robin September 19, 2011 - 16:09
I’m so impressed you designed it yourself! I love it! I guess you are trying to keep busy till your sweet girl makes her appearance 😉
Blair September 20, 2011 - 07:27
Adorable!!!
Sarah V September 20, 2011 - 18:29
Holy Moly that’s cute!! I am new to the sewing world (so new that I haven’t actually made anything yet 🙂 ) but just got a machine. Do you think this would be too big/hard of a project to take on for such a novice? I have been following your blog and loving the inspirtation I am getting from here!!
Melissa September 20, 2011 - 18:32 – In reply to: Sarah V
I’m not sure Sarah, but it’s always worth a try! It’s mostly a lot of straight lines that you sew, so the hardest part will be figuring out the proper sizing. Let me know if you need any help with it if you decide to go for it! 🙂
Jen September 20, 2011 - 21:06
Love this, just too adorable. I just found your blog and I really enjoy reading previous posts and seeing all the cute projects you come up with very inspirational!
kendascrafts September 22, 2011 - 12:23
That’s adorable!
Kristine September 26, 2011 - 14:06
Absolutely adorable!! I am going to try and adapt this for my 9 year old daughter.
Shannon November 27, 2011 - 16:27
This is so cute and I’m trying to make my own for my toddler! But, I got lost after sewing the rights sides of the skirt together, ironing the seam open flat. I can’t tell where you start sewing the zipper in, because I sewed all the way up to the seam, but your pictures looks like it has more of an opening where the zipper is. What did I do wrong?
Shannon December 18, 2011 - 14:21
Melissa,
Thanks so much for emailing me! I just finished my 2nd skirt which my daughter will wear for her Christmas outfit. Thanks so much for the tutorial!
Kelly January 20, 2012 - 16:10
I adore this skirt! I’ve taken all the measurements on my girls (1.5 and 3 years old) and on myself. I can’t wait to make this! I was wondering though, because I’ve never put a zipper in, when you are sewing up the side of the skirt – should you start sewing where the bottom of the zipper will be? If I start at the ironed crease, there won’t be an opening to sew the zipper in, will there? Thanks!
Riz August 27, 2012 - 21:22
Hi! Like Shannon, I am abit confused over the zipper part.. I too sewed all the way up to the seam, and found no room for the zipper.. please advice..
by the way, i just found your blog, and i LOVE it! =)
Melissa August 28, 2012 - 01:29 – In reply to: Riz
Hi Riz. It seems I emailed Shannon about where she was getting the zipper part wrong. Just in case someone else is confused with that step, I’ll reply here:
When you’re sewing up the side seam of the skirt, you stop sewing at the fold in the waistband. So you’re only stitching through half the waistband. The top half of it is unstitched. When you sew the zipper in, you put it at the top of your stitching, half way up the waistband, still leaving the top half unstitched. Then you’re able to fold it down over the zipper, encasing it in the waistband when you’re doing the top stitching. If you look closely at the pictures, you should be able to see what I’m talking about. Please feel free to email me with more questions!
Kirsten March 22, 2013 - 16:52
Very cute. I would sew it for my granddaughter.
Stef June 28, 2013 - 09:56
Thanks for the pattern & tutos you shared. The result is so cute!
Robin September 02, 2013 - 18:07
Wouldn’t it be easier and not even obvious to use a wide piece of elastic at the top and the ties would cover it up?? No zipper would be needed then. Just wondering. I have not sewn in 20 years but before that sewed a lot of my kids’ clothes. Now I have a granddaughter and am ready to start up again. Just need to remember everything again.
Savannah April 07, 2014 - 18:59
Love it I will have to make a few of these!!!
Stephanie November 06, 2015 - 12:11
Any advice on how to make this in a little girl size 8? I’m getting some measurements now.