Petti Romper May 6, 2011 – Posted in: Sewing, Tutorials
A few weeks ago, I got a message from a friend of mine. It read: Have you ever made a petti romper? “A petti what?!” I thought, and immediately went to Google. I found pages and pages of precious, lacy little outfits donned by girls dressed in their Mommy’s pearls and I immediately knew I needed to figure out how to make one! I was smitten!
 |
 |
I found some tutorials for them, made from satin and stretch lace, but I wanted to go a different route. I scoured rufflefabric.com and my friend chose a color she wanted. I waited with baited breath for the package to arrive, then anxiously finished my orders ahead of it, dying to get my hands on the fabric!
 |
 |
This romper went together so quickly! Sofie wasn’t as thrilled about it as I was (and was bribed with candy in order to cooperate!) but she willingly tried it on repeatedly. The only downside about using the ruffle fabric is that the romper isn’t going to shrink as small as some of the others. I know they fit infants through toddlers, but this romper is more size specific.
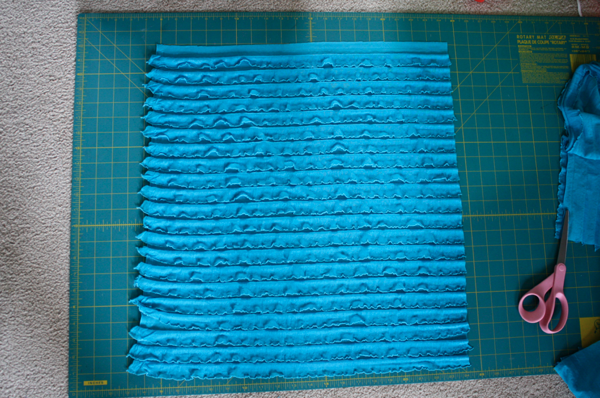
I cut my fabric 24″ long, because I wanted to be able to take ruffles off if necessary, and 19″ wide. At the top of the fabric, I cut right under the ruffle above where I wanted to start.
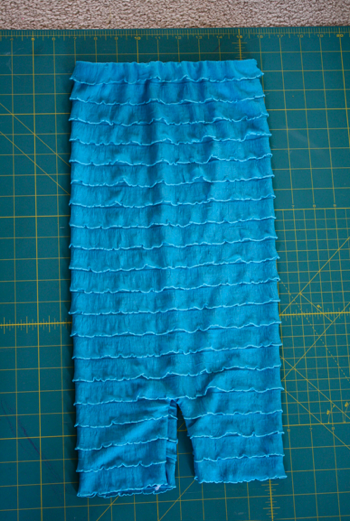
I put the fabric with right sides together, and measured 4″ from the bottom (so 4 ruffles since it’s 1″ ruffle fabric) and marked it with a pin. Then starting at the top, I carefully lined the ruffled up and pinned each one. Then I stitched at 1/4″ seam allowance, stopping at the bottom pin, leaving the last 4″ unsewn.
Then I serged the seam. If you don’t have a serger, zigzag the edges to help prevent fraying.
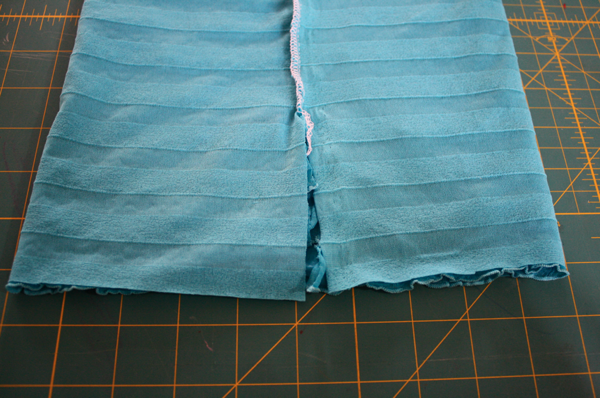
Center the back seam,
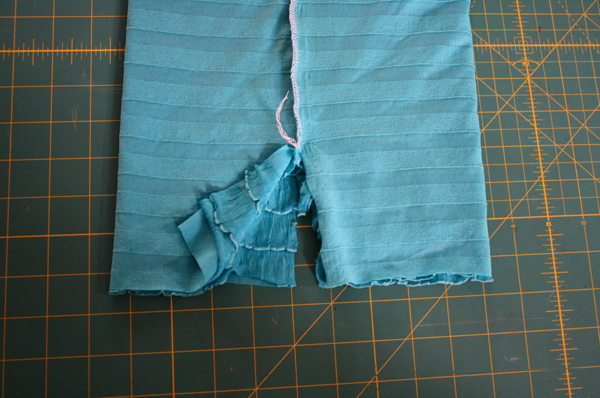
and cut the piece underneath to match the piece left unsewn.
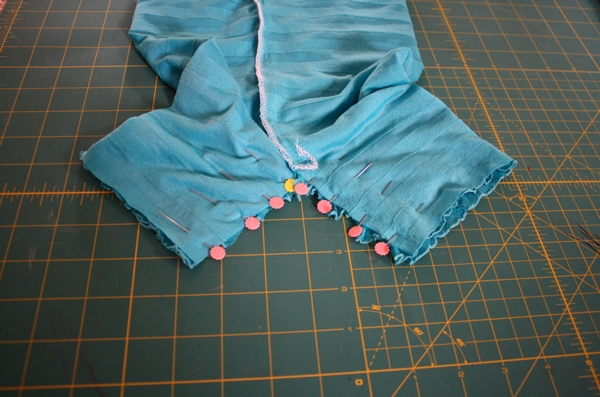
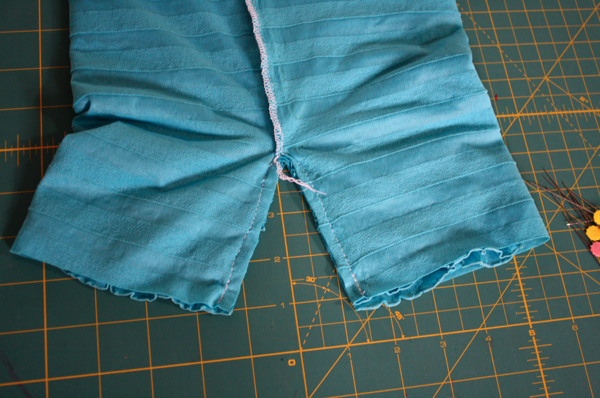
Matching the ruffles again, pin one leg,
then the other.
As with the back seam, sew at 1/4″ seam allowance, then finish the edges.
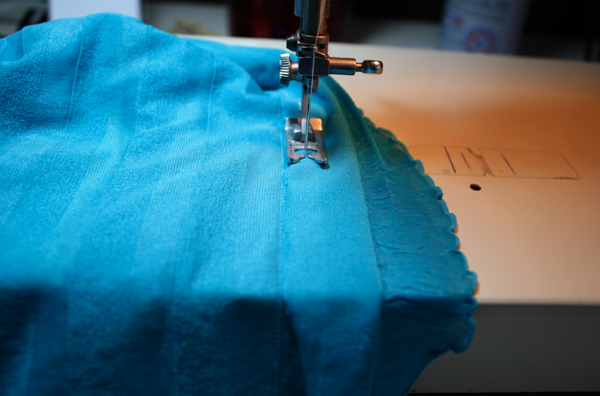
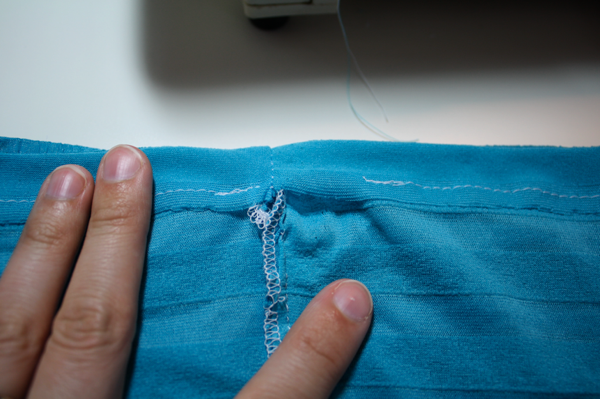
Now, to help the romper stay in place, I needed to add elastic along the top, which is why I left the extra fabric at the top above the uppermost ruffle. Fold the fabric down, making the ruffle the very top of the romper, and starting at the back seam, sew a casing with the widest stitch on your machine (to allow for stretching), stopping an inch or so from the start of the seam.
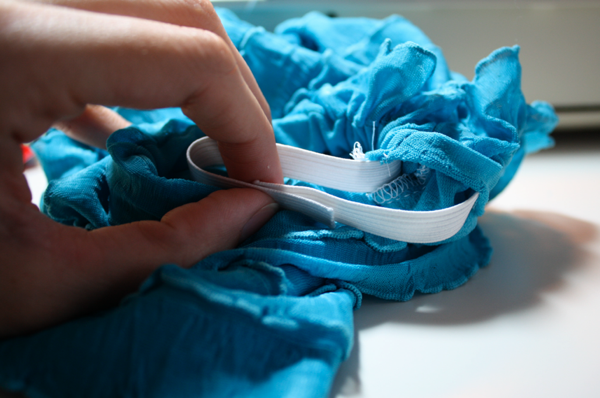
Thread 3/8″ elastic through the casing, according to the size needed for your romper. For this 2T/3T size, I used 18″.
I overlapped about 1″ and stitched the elastic together, pulled it back into the casing, and closed the hole.
And that’s it!
After trying this on Sofie, I realized the legs were too long. So I cut 2 ruffles off and reinforced the bottom of the seam with a simple zigzag on the regular machine over my serged seam.
Then find a willing model and have a blast!
 |
 |






15 Comments
Marie Gross May 06, 2011 - 01:53
So cool that you can make these! Was you friend a photographer? Seems like these are hot with the newborn photographers. 🙂 Anyway, you did an awesome job and I always love your tutorials! 🙂
~M~ May 06, 2011 - 15:03
What adorable pictures! For having to be bribed with candy she sure is smiley! As always, thanks for sharing your tutorials and info! :o)
~M~
Connie May 06, 2011 - 15:53
She is gorgeous!
Connie
Tracy May 10, 2011 - 13:05
Great tutorial! Much easier looking than the elastic lace method! Your daughter is GORGEOUS by the way. 🙂
Theresa Eldridge May 11, 2011 - 12:54
YOU ARE MY HERO!!!!!!!!!!!!!!!!!!!!!!!!!!!! THANK YOU, THANK YOU, THANK YOU!!!!!!!!!!!!!!!!!!!!!!!!!!!!!!!!!!!!!!!!!!!!!!!!!!!!!!!
Theresa Eldridge May 11, 2011 - 12:56
@Tracy – Whats the elastic lace method??? Can we get a tut on that one too? I just LOVE these!!!!
Destiny September 04, 2011 - 02:15
I love this one! But do you have a tut on the elastic lace one as well? I have been looking and looking but nobody seems to have a good one that I can find
Renee January 22, 2012 - 11:45
This is so simple. Thank you for posting this! But I am also looking for a good Tut on the Elastic Lace Petti Rompers. I would love if you could post one 🙂
Butterfly February 17, 2012 - 00:26
Just made one for my Photography studio and i LOVE it… Thanks for sharing greatly appreciated…. =0)
Charley May 27, 2012 - 09:44
I can’t wait to make one of these!!! Thank you for the tut and for linking the store to buy the fabric at!!!!
Rhonda June 15, 2012 - 12:33
It is so nice of you to share your gifts with those of us who need to be visually guided in making these adorable creations. We appreciate your generousity and love that we don’t have to reinvent the wheel, but simply create some of your beautiful creations for our little monkeys 🙂
Thanks again!!
Sana June 30, 2012 - 16:15
Sofie is so gorgeous..reminds me of my Sani. Thanks for the tutorial. I was able to make my Sani a romper as a sample and will be making her a new one for her birthday. Thanks again! Love your blog by the way.
Ellie October 27, 2012 - 09:50
Just made one of these in pant form for my 3 year old niece and it fit perfectly. It’s for her Halloween costume and she absolutely loves it! Thank you so much for posting this blog!
How would you add little sleeves to it though if they wanted sleeves???
Amber July 06, 2013 - 01:53
This is the best tutorial I have seen to make a romper the way I want it. Thanks for sharing!!!
Julia Cook March 17, 2014 - 17:26
I love sewing for lil girls but hate patterns your site rocks and my neice loves trying on all her outfits! do u have any easy pants or leggings?