Superhero Masks March 19, 2013 – Posted in: Tutorials
I have very little experience with boys and boy things. I have 3 nieces and 3 daughters, so when Sofie started getting invited to boy birthday parties at school this year, I was at a loss! I love to give a handmade gift along with a store bought one when I can, just so I can give them something a little more personal.
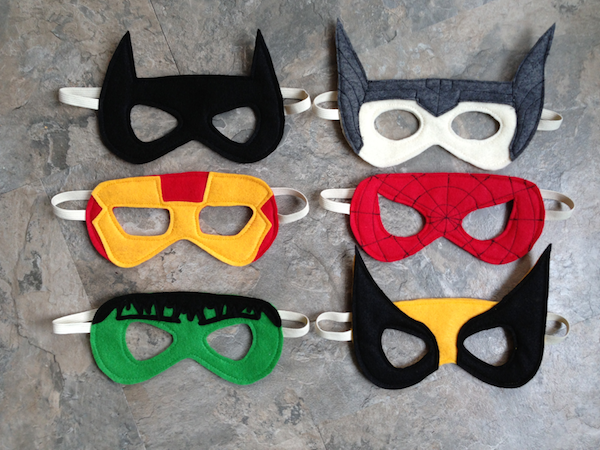
So when one of our best friends had a party in February, I went looking for an idea of what to make him. I’d stumbled on these amazing superhero masks from Cutesy Crafts several months before and knew this would be it! In about 2 hours, I whipped up these awesome little masks!
I already had all the felt and elastic, so it was a super easy project! I used her templates and had a blast putting them together. There were a few times I was scratching my head trying to figure out how to make them the cleanest, so I’m going to share my tips.
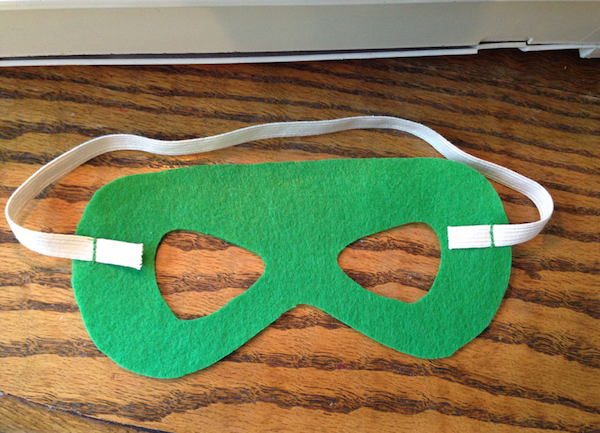
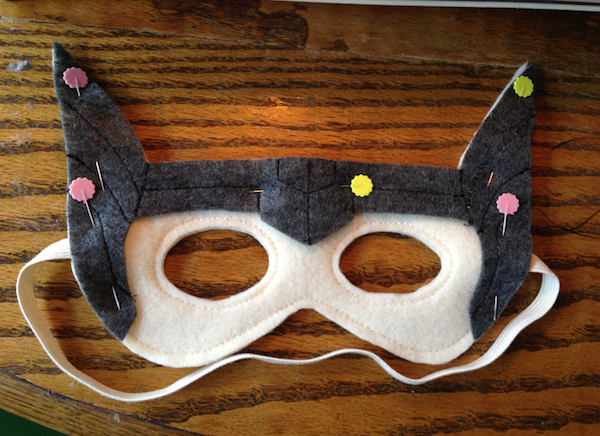
I used 2 pieces for each mask. I cut my elastic about 13″ and sewed it to the back mask piece using coordinating thread at 3/8″ seam allowance, assuring the elastic would have 2 seams on each side and would stay put. I also left a tail inside the mask to make sure it wouldn’t unravel and get pulled out.
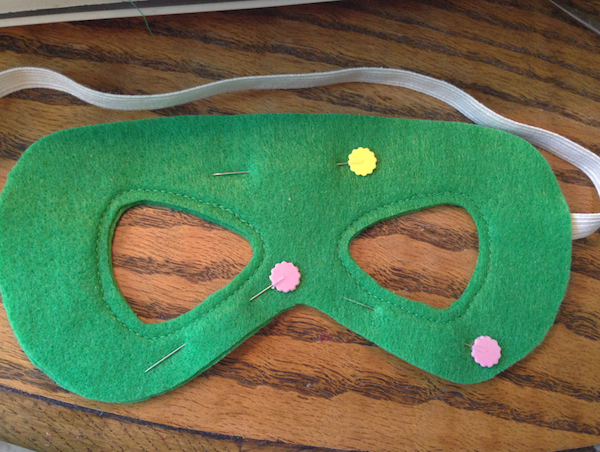
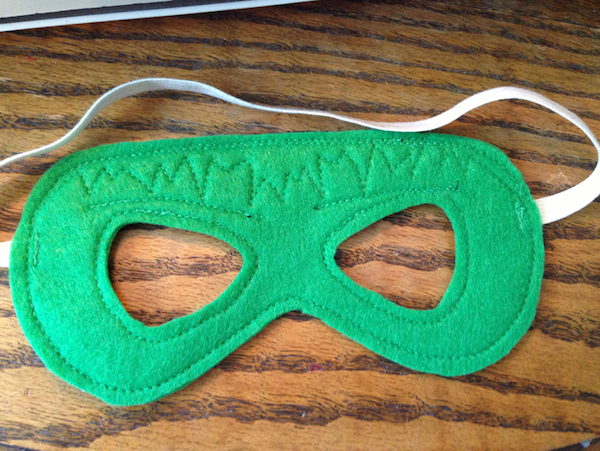
For some of the masks I assembled them before sewing on the other pieces. So I would pin them together and sew around the eye holes first using a 1/4″ seam allowance.
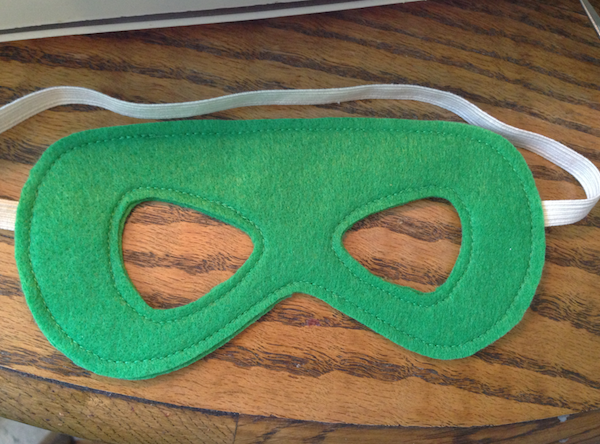
Then I’d sew around the perimeter, also at a 1/4″ seam allowance.
Then I’d trim up any places the felt stuck out from the back to even up the pieces. For the Hulk, I then sewed the black hair and eyebrows, using black thread on the front and the green in my bobbin so it blended in to the back. If I’d sewn on the black before putting my mask front and back together, he’d have a green seam through his hair, or I’d have to stop halfway through sewing and change thread color.
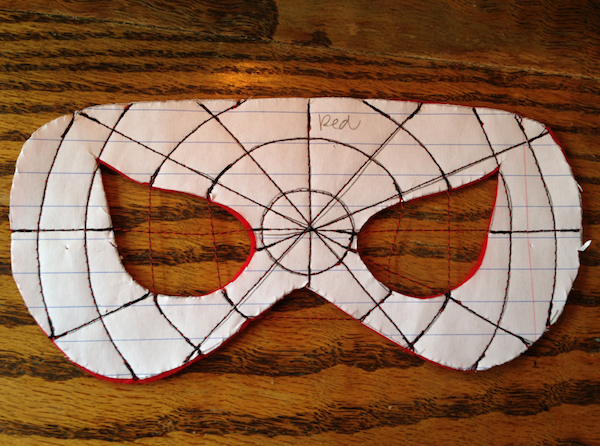
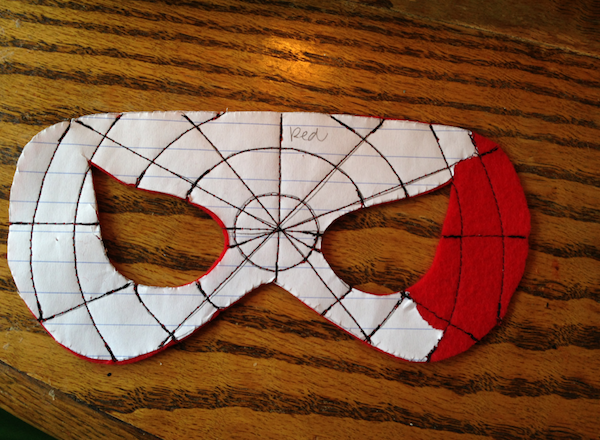
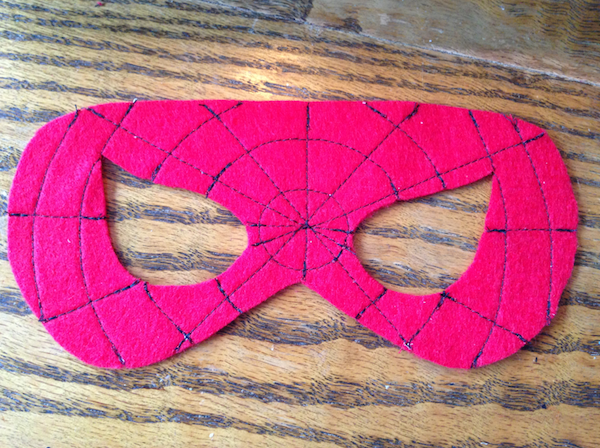
For Spiderman, Ashley cut her pattern piece and marked on the felt as she went. But I decided to just stitch over the paper and rip it off. This made it go very fast and the lines stayed true to the pattern piece.
Also, I did just the front felt piece of Spiderman then assembled the rest, using red thread to sew around the eyes and the perimeter of the mask.
One thing I did think about when I started tracing was how to add the “wing” pieces to the masks. You’ll need to cut your mask pieces out with those shapes, too. So for Thor, for example, I cut the 2 main pieces and sewed the mask together. Then I took the grey helmet piece and sewed the details on with black thread, then placed it on top and sewed around it to attach it to the mask.
So each mask took a little bit of thought as to how to best assemble it, but the finished product was fantastic! My girls loved them and have been begging me to make more, though I have a feeling they’ll choose Doc McStuffins and Minnie Mouse over Batman and Wolverine!



12 Comments
ellen March 20, 2013 - 08:49
These turned out very cute! My nephews birthday was in feb, and my sister wanted me to make these… but she asked the day before his birthday and I didn’t have time to get the stuff i needed. Very cute….
I know you said you were stumped on what homemade item to make for a boys birthday party… What about a pillowcase made from a boy themed fabric????
Michele March 21, 2013 - 13:16
The masks are adorable! The models are pretty cute too!!!
Fantomas March 23, 2013 - 16:53
Great masks, i made the Spiderman, Batman, and Iron Man masks for my nephew. Thank you so much.
jeni April 06, 2013 - 11:42
Do you have any tips for tracing the patterns onto the felt? love the masks and models!!
Melissa April 07, 2013 - 01:20 – In reply to: jeni
Yes! I traced the masks off my computer onto paper. Then I pinned the paper to the felt and cut out on the lines. I labeled the paper pieces the necessary colors so I didn’t get confused (see the Spiderman mask).
jeni April 08, 2013 - 00:44
Thank you! I did a similar thing but used pellon with a grid instead of paper. Just wanted to see if there was another way!
Superhero Cape Shirt tutorial - Sew Like My Mom | Sew Like My Mom May 16, 2013 - 09:43
[…] of bullying its long-term effects. She was looking for donations for prizes and had found my superhero masks and asked if I’d donate a set. I was so flattered and eager to help with anything she needed. […]
Lynn simon September 19, 2013 - 18:12
Too cute. I have a 15 month old gd who loves to dress up and “fly”. I made her several capes, but I need to make a few masks. The pictures here are great!
I use Pellon 830 pattern making interfacing for the patterns. I usually print up the template on the CPU and then trace it onto the Pellon.
I also use the Pellon for all my regular commercial patterns that I buy because of the multiple sizing. Yes it takes a little time, but the 3 dress patterns for my granddaughter will last for the 4-5 years that they are sized for. The Pellon 830 is double wide and about 1.25 per yard with a coupon at Joanns.
Last Minute Favorite Kid Gifts December 05, 2013 - 07:01
[…] & Patterns Wool felt crown tutorial Sew reversible super hero capes Sew superhero masks Pattern for a fox mask & tail […]
Hello Kitty Super Hero and Sidekick | pennysewvintage November 01, 2014 - 02:10
[…] mask for Ev’s costume was inspired by these masks here on Sew Like My Mom. I folded the mask in half after printing out the tutorial, and changed it to […]
Bethany July 04, 2015 - 02:28
I love these masks! Well done! I am also sewing some masks at the moment, but unable to sew around my eye holes as neat as you! Any tips?
Melissa July 06, 2015 - 14:42 – In reply to: Bethany
Go slowly!