Sweet Window Seat January 20, 2011 – Posted in: Decorating, Family, Sewing, SYTYC, Tutorials
So, I totally didn’t expect to win the first week of SYTYC! Thank you again to everyone who voted for my seat! I didn’t take pictures as I went along, so I’ll share what I have and explain the rest the best I can. If you need more help, please let me know!
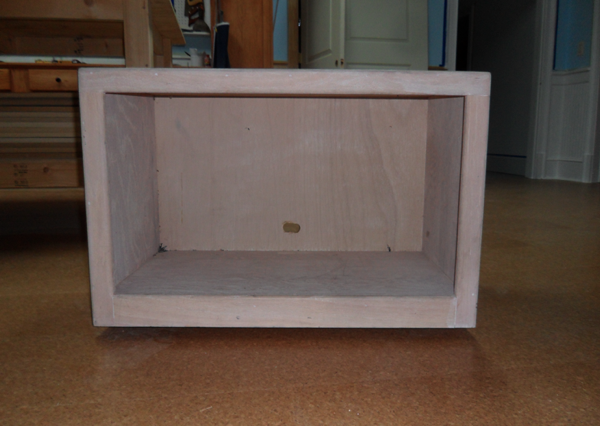
I started with my bare, empty tv stand.
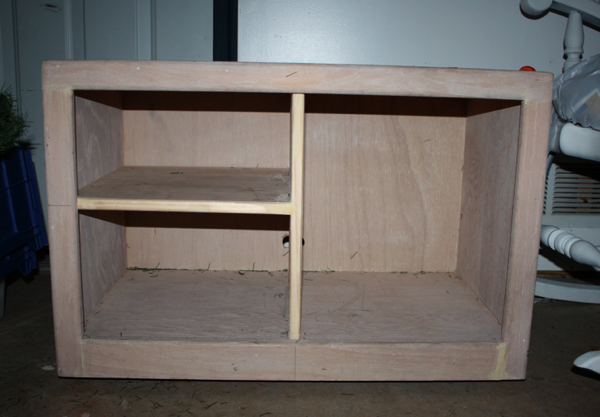
My super amazing Dad helped me add the shelves. One vertical, splitting the tv stand in two, then one horizontal creating 2 shelves.
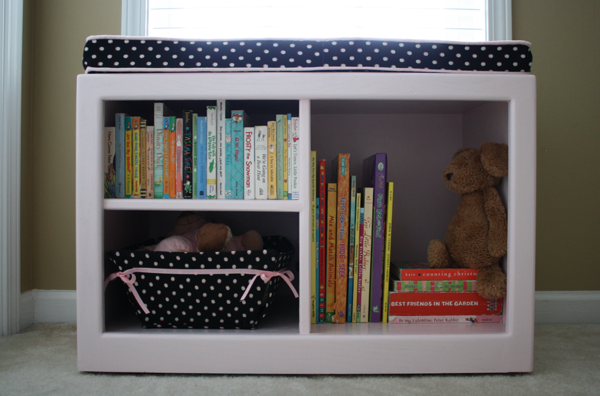
Then I sanded and painted it. I don’t have a post paint picture before I made the cushion and basket.
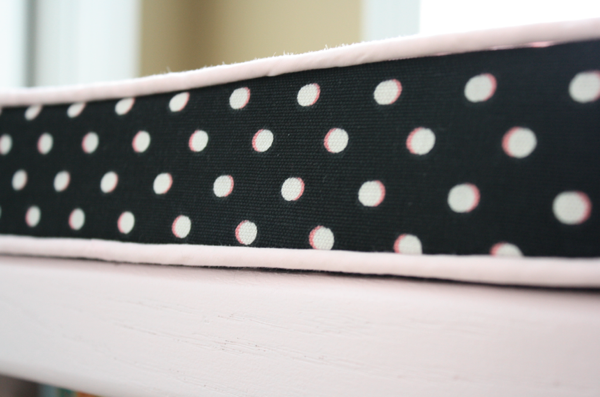
To make the cushion, I measured the top of the seat, subtracted 1 inch from the length and width, and cut 1 pieces of 1″ foam to that size. Using spray adhesive, I glued them together. Then to make the cover, I winged it! I cut a top and bottom piece the size of the foam, plus a 1/4″ seam allowance all the way around. I cut a 2.5″ strip the length of the entire perimeter of the cushion, then making it up as I went along, I sewed the top to the side, sandwiching my piping inbetween. Then I did the same for the bottom piece, and left an 8″ hole to stuff the cushion inside. Once the cushion was flat inside, I whipstitched the hole closed.
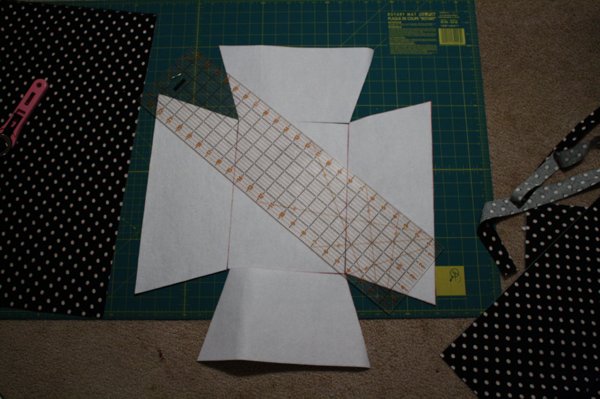
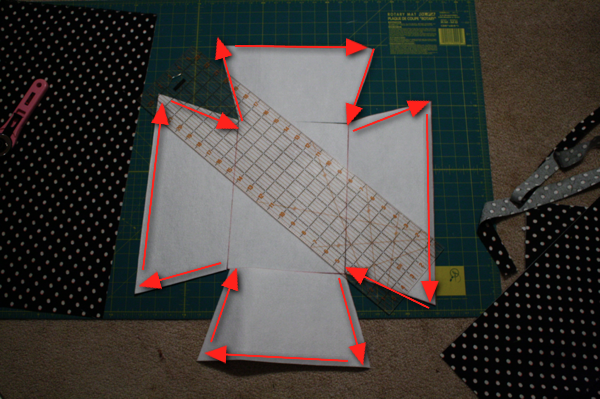
To make the basket, I measured the size of the hole, subtracted 2 inches from each side, and made that my top width measurements. I came in 2 inches from each side, and created trapezoid shapes. I cut 2 long sides, 2 short sides, and 1 bottom out of medium weight fusible interfacing.
Then I cut 2 of each side and 2 of the bottom from my fabric. I ironed the interfacing to the wrong side of one of each of the side pieces and the bottom piece. Then I sewed, right sides together, the short sides and top of each of the 4 basket side pieces, leaving the bottoms open.
I turned them right sides out, and sewed them to the base.
Then I took the bottom piece of the base, tucked the side flaps in, and with right sides together, sewed around the perimeter of the basket, leaving a hole to turn it. Then I stitched the hole closed.
Once fully sewn and assembled, I too pieces of ribbon twice as long as the particular side, measured down 2″ from the top of the side, and ran a strip of Aleene’s glue starting and ending 1″ from the edge. I glued each ribbon down, and once dry, I tied them together.
I know that’s a crummy tutorial, and I promise I’ll remake the basket once the competition is over!
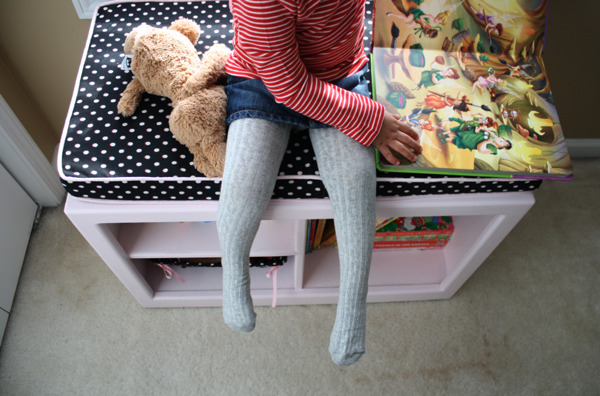
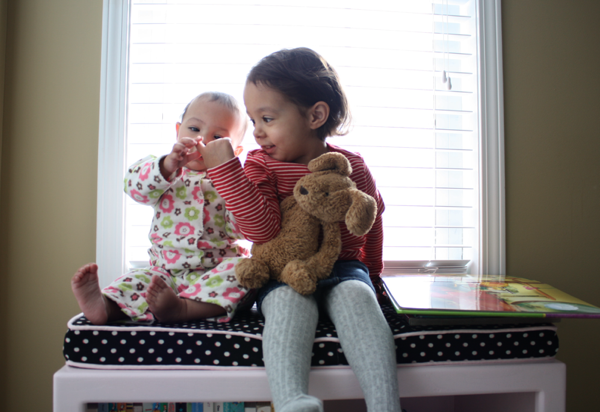
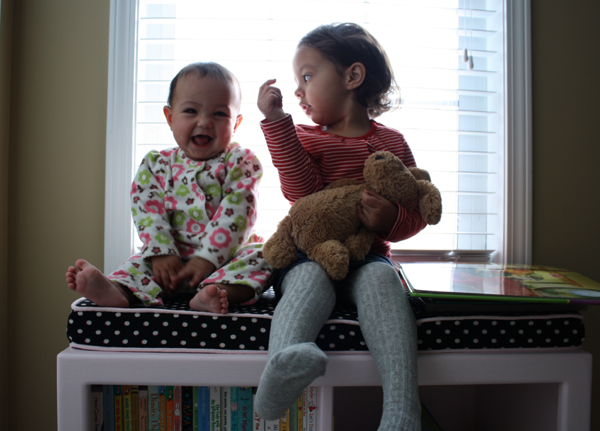
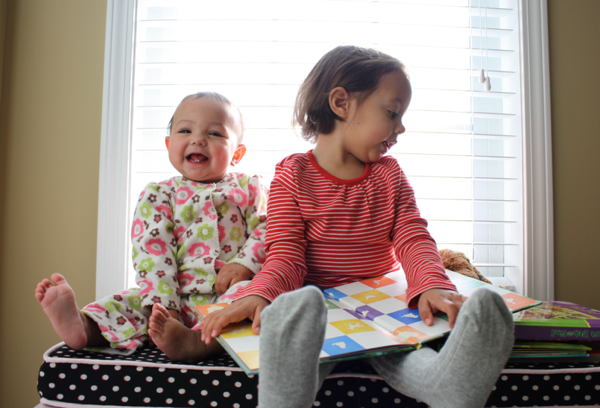
But in the mean time, did you know this is a double seater?
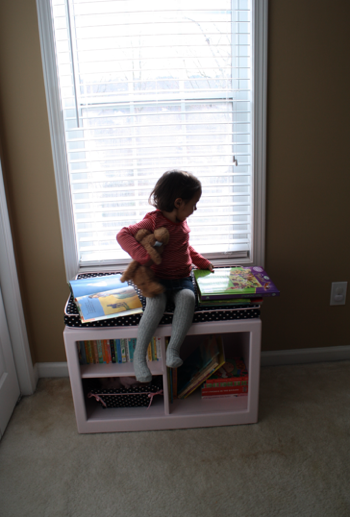
But seriously, Sofie adores the window seat! She spends a lot of time up there reading stories and peering out the window at the big, wide world.





7 Comments
Melanie January 24, 2011 - 14:46
Melissa- Your girls are sooooo ADORABLE! I love your window seat – if only I had a place to put one I would so do this! Maybe someday! (Oh, to dream) LOL
Katie March 25, 2011 - 13:03
LOVE this window seat! We have a bay window area that i might make a cushion for as well as come coordination baskets… I have a 16 month old who loves to get up there and watch whats going on outside :)What a great idea! Thanks for sharing
Cheryl June 16, 2011 - 00:58
Your window seat is EXTRA-cute with your kiddos sitting on there. I’ve been wanting to make a cushion for our dining room bench w/ removable cover, so this made me think “winging it” wasn’t such a bad idea after all.
Jennifer Hagerman January 19, 2012 - 20:47
Love it! I volunteered to make a window seat cushion for my niece for a little reading nook in her new home under the TV – nice big space. Well we got the fabric and I used the grid on the back of wrapping paper to make my pattern. I wish I would have seen this before. Anyway – I have all the pieces cut – just now sewn. I love the piping – I think I can do this! It’s pretty big, about 60″ long and 22″ deep. I can’t wait to get some piping and give it a try! Note on the cushion – an idea the really nice lady @ Hobby Lobby in Texas told me – I used spray glue and glued the foam blocks to a thin light weight board for stability. That is in place now with a fitted sheet covering it temporarily until I get sewing. This keeps the foam pieces from seperating and makes it easy to slide in and out (or so I have been told) She also said to dust the foam with baby powder to make it easier to slip over the foam. Your instructions were just fine and the pictures helped alot. Great job and adorable kids!
Thanks again!
adam June 24, 2012 - 13:20
Wow you are amazing with the clothes, I lobe how u turned the green shirt into little girls dress, simply amazing, and resorcefill……. Love it!
Robin January 07, 2013 - 13:01
How do you get the pad to stay on the seat? Doesn’t it slide off and on as the little ones get off? Just curious. It is very cute.
Zila September 05, 2013 - 03:47
super cute project! love them all!